Separate African Violets Like a Pro! The Easy Guide
Successful propagation through separating african violets relies heavily on understanding the plant’s anatomy. Saintpaulia, the genus encompassing African violets, typically produces numerous offsets, or ‘pups,’ around its base. Proper tools, such as a sterilized knife or sharp scissors, are essential for carefully dividing these delicate plants. With the right technique, even beginners can master separating african violets and enjoy multiplying their collection, creating more blooms and sharing with fellow members of the African Violet Society of America.
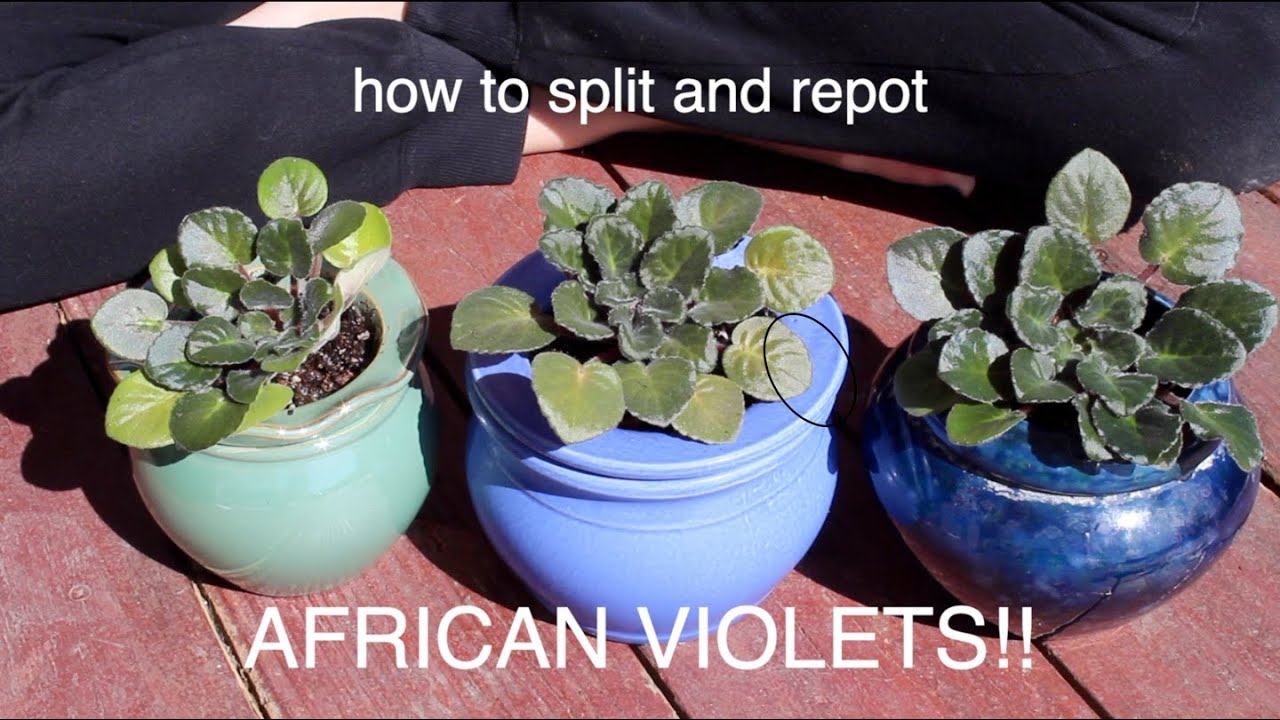
Image taken from the YouTube channel RIAH , from the video titled Splitting and repotting an African Violet! .
Separate African Violets Like a Pro! The Easy Guide
This guide will walk you through the process of separating your African violets, helping you multiply your beautiful plant collection with ease. Don’t worry, it’s not as intimidating as it sounds! We’ll cover everything from why you might want to separate them, to the step-by-step instructions for a successful separation.
Why Separate African Violets?
Sometimes African violets grow multiple "crowns" in a single pot. These crowns are essentially individual plants clumped together. Separating them can be beneficial for several reasons:
- Encourage Healthy Growth: Separated plants have more room to grow, resulting in healthier, more vigorous plants with improved air circulation.
- Increase Blooming: Less competition for resources means each individual plant is more likely to bloom profusely.
- Propagation: Separating gives you more African violets! You’re effectively creating new plants from a single mother plant.
- Improve Appearance: A single crown in a pot often looks neater and more aesthetically pleasing.
When to Consider Separating
The best time for separating african violets is generally during repotting, usually in the spring or early summer. This is when the plants are actively growing and can recover more quickly. Look for these signs:
- Multiple Crowns: The most obvious sign! If your plant has more than one distinct rosette of leaves growing from the base, it’s a good candidate for separation.
- Overcrowding: The plant appears cramped in its pot, with leaves overlapping or reaching for light.
- Slow Growth: Despite proper care, the plant isn’t growing or blooming as well as it should.
However, avoid separating african violets when the plant is actively blooming. Let the blooms finish first, as separating can stress the plant and cause the flowers to drop.
What You’ll Need Before Separating
Gathering your supplies beforehand will make the whole process smoother. Here’s what you’ll need:
- New Pots: Small pots (2-4 inch) for each separated crown. Choose pots with drainage holes.
- African Violet Potting Mix: Specifically formulated for African violets. This mix is light and airy, providing good drainage.
- Clean Tools: A sharp, clean knife or small trowel. Sanitizing your tools with rubbing alcohol will help prevent the spread of disease.
- Watering Can: Filled with room temperature water.
- Newspaper or Drop Cloth: To protect your work surface.
Step-by-Step Guide to Separating
Now, let’s get to the fun part: the actual separating african violets. Follow these steps carefully:
- Prepare the New Pots: Fill each pot about two-thirds full with the African violet potting mix.
- Remove the Mother Plant: Gently remove the African violet from its original pot. You may need to loosen the soil around the edges of the pot first.
- Examine the Root Ball: Carefully remove as much of the old soil as possible from the root ball. This will allow you to see how the crowns are connected.
- Separate the Crowns: This is where your clean knife or trowel comes in handy. Gently separate the crowns, making sure each crown has its own root system. In some cases, you may be able to gently pull them apart by hand. If the roots are tangled, carefully cut through them with your knife. Don’t worry if you accidentally break a few roots. African violets are quite resilient.
- Pro Tip: Work slowly and gently to minimize damage to the roots.
- Plant the Separated Crowns: Plant each crown in its prepared pot, making sure the base of the crown is level with the soil surface. Gently press the soil around the roots.
- Water Thoroughly: Water each newly potted African violet thoroughly until water drains from the bottom of the pot.
- Provide Humidity: Newly separated African violets benefit from increased humidity. You can achieve this by placing the pots on a tray filled with pebbles and water, or by using a humidifier. Be sure the bottom of the pots do not touch the water, as this can cause root rot.
- Provide Indirect Light: Place the newly separated plants in a location with bright, indirect light. Avoid direct sunlight, which can scorch the leaves.
Aftercare for Newly Separated Plants
After separating african violets, proper aftercare is crucial for their survival and healthy growth.
- Watering: Keep the soil consistently moist but not soggy. Allow the top inch of soil to dry out between waterings.
- Fertilizing: After a few weeks, begin fertilizing with a balanced African violet fertilizer diluted to half strength.
- Monitoring: Keep an eye on your newly separated plants for signs of stress or disease. Remove any yellowing or damaged leaves.
With a little patience and care, you’ll have a beautiful collection of thriving African violets! Remember, separating african violets is a rewarding experience that allows you to propagate your favorite plants and enjoy their beauty for years to come.
FAQs: Separating African Violets Like a Pro
Here are some frequently asked questions about separating your African violet plants. This guide will help you understand the process and ensure success.
How do I know when my African Violet needs separating?
Your African violet needs separating when it has multiple crowns (rosettes of leaves) growing from the same base. These extra crowns compete for resources, which can lead to reduced blooming and overall plant health. Separating african violets allows each crown to thrive independently.
Can I separate African Violets at any time of year?
While you can separate African violets at any time, spring and early summer are the best times. The plants are actively growing then, which aids in recovery and faster establishment in their new pots.
What kind of soil should I use after separating my African Violets?
Use a potting mix specifically formulated for African violets. These mixes are lightweight, well-draining, and provide the proper nutrients. Avoid using regular garden soil, as it can be too heavy and cause root rot. You want a mix that supports healthy growth after separating african violets.
What if the roots are tangled and difficult to separate?
Gently tease the roots apart with your fingers. If they are severely tangled, you can use a clean, sharp knife or scissors to carefully cut through the mat. Try to minimize damage to the roots as much as possible during the process of separating african violets.
So there you have it! Hopefully, you feel ready to give separating african violets a try. Happy growing!
