Sketch a Solar Eclipse: Easy Step-by-Step Guide!
A solar eclipse, a fascinating astronomical event, offers a unique opportunity for artistic expression, especially when creating a solar eclipse sketch. NASA, a leader in space exploration, provides valuable resources for understanding the science behind these phenomena. Mastering the skill of observation is crucial, and using graphite pencils helps capture the subtle gradations of light and shadow. Depicting the corona, the sun’s ethereal outer atmosphere visible during totality, adds a captivating element to your solar eclipse sketch, making it a truly memorable piece of art. So, grab your supplies and prepare to capture the beauty of the cosmos!
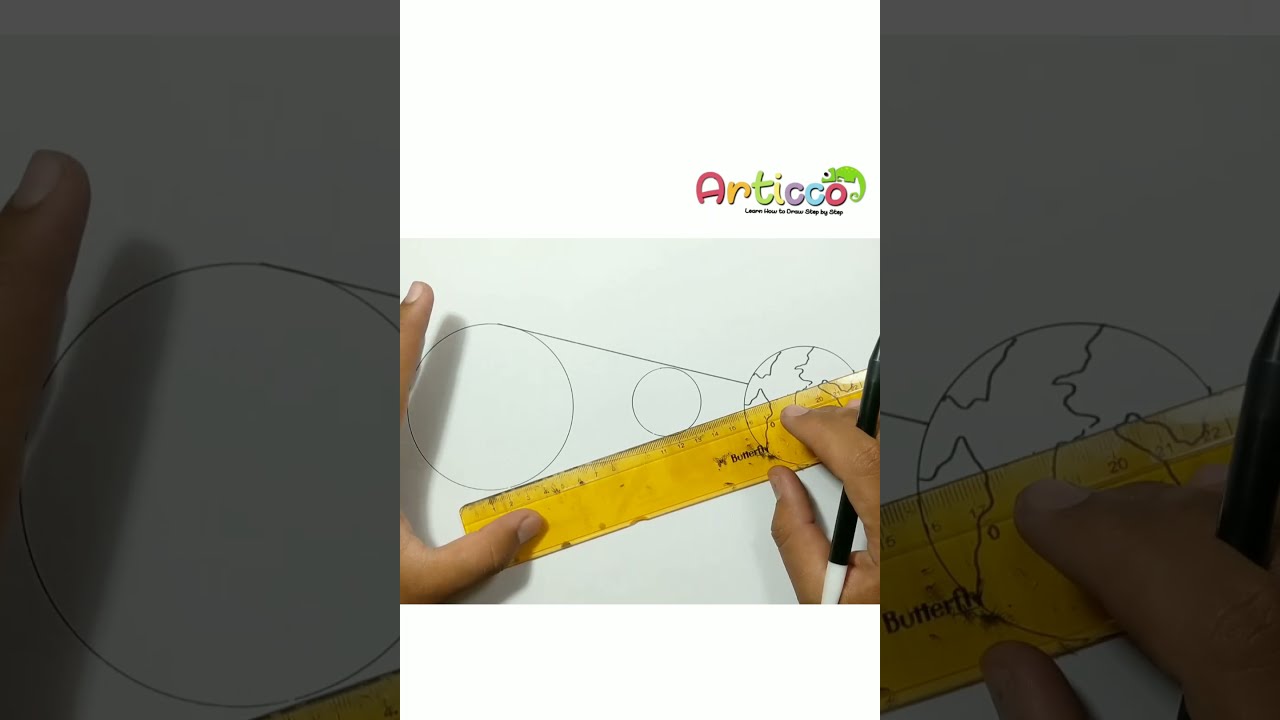
Image taken from the YouTube channel Articco Drawing , from the video titled How to Draw Solar Eclipse #Shorts .
Crafting the Perfect "Solar Eclipse Sketch: Easy Step-by-Step Guide!" Article Layout
Let’s break down how to structure an engaging and informative article that guides readers to create their own stunning "solar eclipse sketch". Our aim is to make the process accessible and enjoyable, regardless of skill level. The article should primarily focus on solar eclipse sketch techniques.
Understanding Your Audience and Purpose
Before diving into the step-by-step guide, we need to consider who we are writing for. Assuming the audience is a mix of art enthusiasts, curious individuals, and perhaps students, we want to present the information in a clear and encouraging way. The purpose is to equip them with the knowledge and confidence to successfully sketch a solar eclipse.
Article Structure Outline
Here’s a suggested outline to ensure a comprehensive and user-friendly guide:
- Introduction: The Wonder of Solar Eclipses
- Safety First: Important Precautions
- Gathering Your Supplies
- Step-by-Step Sketching Guide: The Solar Eclipse
- Step 1: Sketching the Sun and Moon’s Circles
- Step 2: Defining the Eclipse Stage
- Step 3: Adding the Corona
- Step 4: Shading and Texturing
- Step 5: Adding Background Elements (Optional)
- Tips for Success
- Sharing Your Artwork
Detailed Section Breakdown
1. Introduction: The Wonder of Solar Eclipses
- Purpose: To pique the reader’s interest and set the stage for the artistic endeavor.
- Content:
- A brief, engaging description of what a solar eclipse is, highlighting its beauty and rarity.
- Mention different types of solar eclipses (total, partial, annular) in a simple, easily digestible way. For example:
- Total Solar Eclipse: The moon completely covers the sun.
- Partial Solar Eclipse: The moon covers only a part of the sun.
- Annular Solar Eclipse: The moon is too far away to completely cover the sun, leaving a ring of light.
- A statement encouraging readers to capture this phenomenon through art, emphasizing the accessibility of the guide.
2. Safety First: Important Precautions
- Purpose: To unequivocally emphasize the dangers of looking directly at the sun, even during an eclipse.
- Content:
- A bold and clear warning about the risks of eye damage from direct sun viewing.
- Stress the importance of never looking directly at the sun without proper eye protection.
- A statement reiterating that this guide focuses on sketching a solar eclipse from safe sources (photos, videos, memories), not observing it directly.
3. Gathering Your Supplies
- Purpose: To list the necessary materials, ensuring readers are prepared for the sketching process.
- Content:
- A bulleted list of essential drawing materials, keeping it simple and affordable:
- Pencils (HB, 2B, 4B recommended for shading)
- Eraser
- Drawing paper or sketchbook
- Optional: Colored pencils, charcoal, or pastels.
- Optional: Reference images of solar eclipses (from reliable sources!).
- A short explanation of why each item is helpful. For example: "A 2B pencil is great for creating darker shading effects."
- A bulleted list of essential drawing materials, keeping it simple and affordable:
4. Step-by-Step Sketching Guide: The Solar Eclipse
- Purpose: The core of the article, providing clear and concise instructions for creating a solar eclipse sketch.
- Content: Each step should be presented with a clear heading, numbered instructions, and a descriptive image.
- Step 1: Sketching the Sun and Moon’s Circles
- Draw a large circle representing the sun.
- Draw a slightly smaller circle overlapping the sun’s circle, representing the moon. This overlap will define the eclipse.
- Image: A simple line drawing showing the two overlapping circles.
- Step 2: Defining the Eclipse Stage
- Based on your desired eclipse type (total, partial, annular), refine the overlapping circles.
- Erase the part of the sun’s circle that is covered by the moon.
- Image: Three separate images showcasing the circle overlaps and erasure for total, partial, and annular eclipses, respectively.
- Step 3: Adding the Corona
- The corona is the faint, ethereal glow surrounding the sun during a total solar eclipse.
- Using light, feathery strokes, sketch the corona extending outwards from the sun. Use your softer pencils (2B, 4B) for this step.
- Image: A drawing showing the corona sketched around the eclipsed sun.
- Step 4: Shading and Texturing
- Shade the moon’s circle completely black, ensuring it’s darker than the corona.
- Add subtle shading to the corona to give it depth and texture.
- Image: A drawing with shaded areas, emphasizing the contrast between the moon and the corona.
- Step 5: Adding Background Elements (Optional)
- Consider adding a horizon line or faint stars to add context to your solar eclipse sketch.
- Image: A completed sketch with background elements.
- Step 1: Sketching the Sun and Moon’s Circles
5. Tips for Success
- Purpose: To offer helpful advice that can improve the reader’s sketching experience and results.
- Content:
- Use light pressure when sketching the initial circles.
- Refer to reference images to accurately capture the shape and texture of the corona.
- Don’t be afraid to experiment with different shading techniques.
- Practice makes perfect!
6. Sharing Your Artwork
- Purpose: To encourage interaction and community engagement.
- Content:
- Suggest sharing their solar eclipse sketch on social media using a specific hashtag (e.g., #SolarEclipseSketch).
- Invite readers to share their creations in the comments section of the article.
- Include a reminder to credit sources if reference images were used.
FAQs: Sketching a Solar Eclipse
Here are some frequently asked questions about sketching a solar eclipse to help you create your own amazing artwork.
What if I miss the actual solar eclipse? Can I still sketch one?
Absolutely! This guide is designed to help you create a solar eclipse sketch at any time. You don’t need to be experiencing a live eclipse. Use photos and videos as references to help you capture the details.
Can I use colors in my solar eclipse sketch?
Yes, definitely! While many eclipses are captured in black and white, adding color can enhance your solar eclipse sketch. Consider subtle hues for the corona and the surrounding sky. Use softer, blended colors.
What if I’m not a very good artist? Can I still follow this guide?
This guide focuses on simplicity. Even if you’re a beginner, you can create a recognizable solar eclipse sketch. Focus on the basic shapes and gradually add details. Practice makes perfect.
What materials do I need for this solar eclipse sketch tutorial?
You’ll need basic drawing materials: paper, a pencil (preferably a few different grades like HB and 2B), an eraser, and a blending stump or cotton swab. Optional: colored pencils or pastels to add color to your solar eclipse sketch.
Alright, you’re all set to create an awesome solar eclipse sketch! Have fun with it and remember, it’s all about capturing the magic of the moment. Happy sketching!
