Dermabond Gone! Safely Remove It Yourself – Easy Guide
Dealing with a stubborn Dermabond application? Many find themselves in this situation after procedures involving surgical adhesives. The good news is safe removal of Dermabond at home is often possible with the right approach. This guide draws upon best practices advocated by organizations like the American Academy of Dermatology. A key component in the removal process is often warm, soapy water; its effectiveness can sometimes be enhanced with gentle abrasion using tools similar to those employed in wound care. As with any at-home procedure, if you experience signs of infection, consulting a medical professional is essential.
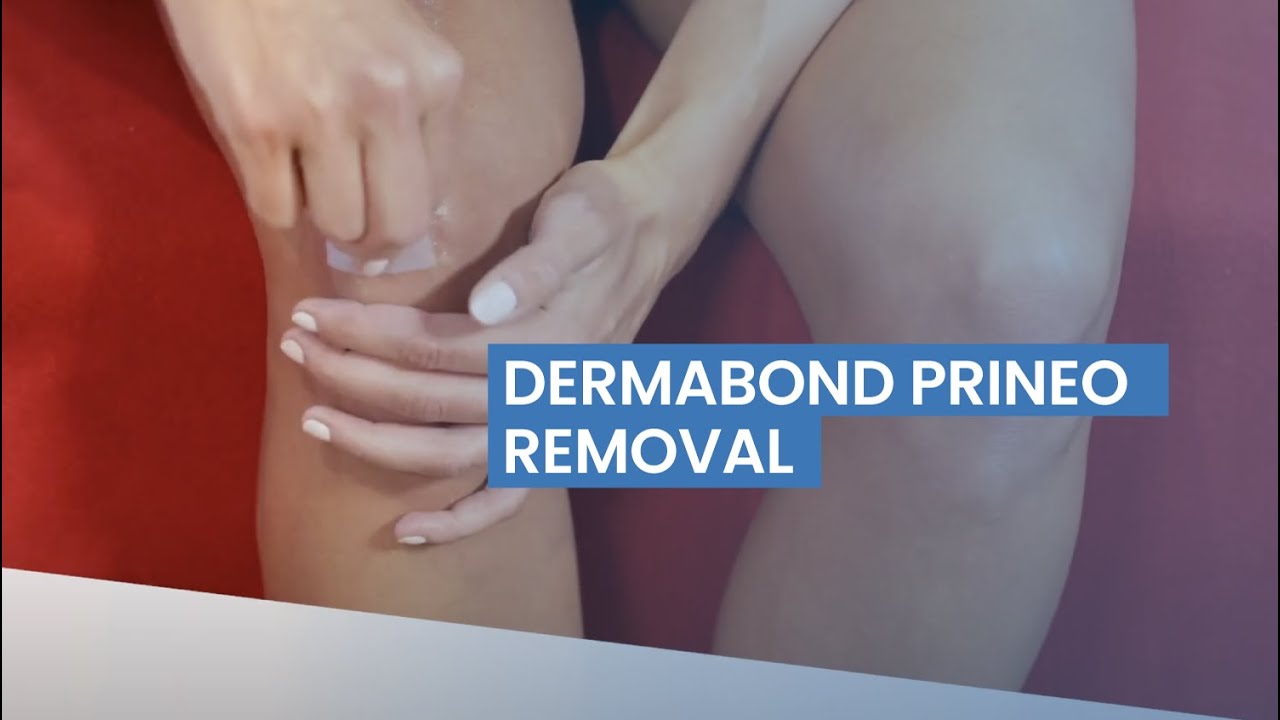
Image taken from the YouTube channel Duval Clinic , from the video titled Dermabond Prineo Removal .
Safely Removing Dermabond at Home: Your Easy Guide
It’s understandable to feel a little anxious when you’ve got Dermabond on your skin and it’s time to get rid of it. While Dermabond (also known as skin glue or surgical glue) is designed to come off on its own, sometimes we want to speed things up or manage any peeling edges. This guide focuses on the safe removal of Dermabond at home, providing clear steps and precautions to ensure a smooth process.
Why Dermabond Removal Might Be Necessary
Dermabond is designed to naturally flake off within 5 to 10 days. However, several reasons might prompt you to consider helping it along:
- Irritation or itching: Sometimes, the Dermabond itself can cause mild irritation or itching as it begins to separate from the skin.
- Uneven peeling: As Dermabond peels, it might catch on clothing or create a bothersome edge.
- Cosmetic reasons: Some people prefer to remove it sooner for aesthetic purposes.
- Doctor’s instructions: In rare cases, your doctor might advise you to remove it earlier than expected.
Preparing for Dermabond Removal
Before you begin, gather your supplies and understand the important dos and don’ts.
Necessary Supplies:
- Mild Soap: A gentle, non-abrasive soap is crucial.
- Warm Water: Avoid using excessively hot water, which can irritate the skin.
- Soft Cloth: A clean, soft washcloth or cotton pad is ideal.
- Petroleum Jelly (Optional): Can help loosen the edges and moisturize the skin.
- Baby Oil or Mineral Oil (Optional): Another option for loosening adhesive.
- Blunt Scissors (Optional): Only for safely trimming loose, peeling edges.
- Patience: Remember, gentle is key!
Important Precautions:
- Never pick or pull aggressively: This can damage the underlying skin and increase the risk of infection.
- Avoid harsh chemicals or solvents: Do not use nail polish remover, acetone, or other strong chemicals. These can cause serious skin irritation and damage.
- Stop if you experience pain or excessive redness: If you notice any signs of infection (increased pain, swelling, pus), contact your doctor immediately.
- Do not soak the wound directly: Avoid prolonged soaking of the wound itself, as this can interfere with healing.
Step-by-Step Dermabond Removal Guide
The following steps detail a gentle and effective approach to the removal of Dermabond.
-
Gentle Washing:
- Wash the area around the Dermabond with mild soap and warm water.
- Pat the area dry with a soft cloth. Do not rub.
-
Softening the Dermabond:
- Apply a small amount of petroleum jelly, baby oil, or mineral oil around the edges of the Dermabond.
- Allow the oil to sit for 10-15 minutes to help loosen the adhesive.
-
Gentle Massage (Optional):
- Using your fingertips, gently massage around the edges of the Dermabond in a circular motion. This can help encourage the adhesive to release.
- Do not force the Dermabond to lift.
-
Trimming Loose Edges (Optional):
- If there are loose, peeling edges of Dermabond, carefully trim them with blunt scissors.
- Be extremely cautious not to cut or irritate the underlying skin.
- This step is only for managing bothersome edges, not for aggressively removing the entire Dermabond layer.
-
Repeat as Needed:
- Repeat steps 1-4 multiple times a day.
- Consistency and gentle handling are more effective than aggressive attempts at removal.
Dealing with Stubborn Dermabond
Sometimes, Dermabond can be particularly persistent. If you encounter this, consider the following:
-
Increased Frequency of Washing and Oil Application: Try washing the area and applying oil more frequently throughout the day.
-
Avoid Direct Sunlight: Prolonged sun exposure can sometimes make Dermabond more difficult to remove.
-
Continue to be Patient: Remember that Dermabond is designed to come off eventually. Avoid the temptation to resort to harsh methods.
What to Expect During and After Removal
- Gradual Peeling: Dermabond will typically come off in small pieces.
- Slight Redness: Mild redness is normal, but excessive redness or swelling should be reported to your doctor.
- Skin Moisturizing: After the Dermabond is completely removed, moisturize the area well to keep the skin hydrated.
When to Consult a Doctor
While removal of Dermabond is usually straightforward, consult your doctor if you experience any of the following:
- Signs of infection (increased pain, swelling, redness, pus).
- Excessive bleeding.
- The wound reopens after the Dermabond is removed.
- You are concerned about the healing process.
Dermabond Removal FAQs: Your Quick Guide
Here are some frequently asked questions about safely removing Dermabond (skin glue) at home, supplementing our easy removal guide.
Is it really necessary to remove Dermabond?
Usually, Dermabond will naturally slough off within 5-10 days. However, if it’s causing irritation, pulling on the skin, or is just unsightly, you can safely expedite the removal of Dermabond.
What’s the best and safest way to remove Dermabond at home?
Mineral oil or petroleum jelly (like Vaseline) are typically the safest and most effective methods. Gently massage either onto the Dermabond to loosen the adhesive bond. Avoid harsh scrubbing, which can irritate the skin. Remember, patience is key for safe removal of Dermabond.
Can I use alcohol or acetone to remove Dermabond?
While alcohol might help, it can also dry out and irritate the surrounding skin. Acetone (nail polish remover) can be even more irritating and is generally not recommended for removal of Dermabond due to potential for skin damage.
What if I can’t get the Dermabond off completely?
Don’t force it. If you’ve tried gentle methods and some Dermabond remains, leave it alone. Aggressive scrubbing can cause skin irritation or damage. The remaining glue will eventually come off on its own. The goal is gentle removal of dermabond, not perfection.
Alright, you’ve got the lowdown on removal of Dermabond! Hopefully, this guide helped you out. Now go forth and safely get that Dermabond gone!
