Pentagonal Sphere Onshape: Design Like A Pro In Minutes!
Onshape, a leading cloud-native CAD platform, empowers designers to create complex geometries with ease. The process of parametric modeling is further streamlined when integrating specialized techniques like constructing a pentagonal sphere onshape. This method utilizes concepts from geometric design and can be invaluable for projects ranging from artistic renderings to functional prototypes. Understanding the principles behind geodesic domes – another concept applicable here – allows for more efficient and precise creation of a pentagonal sphere onshape.
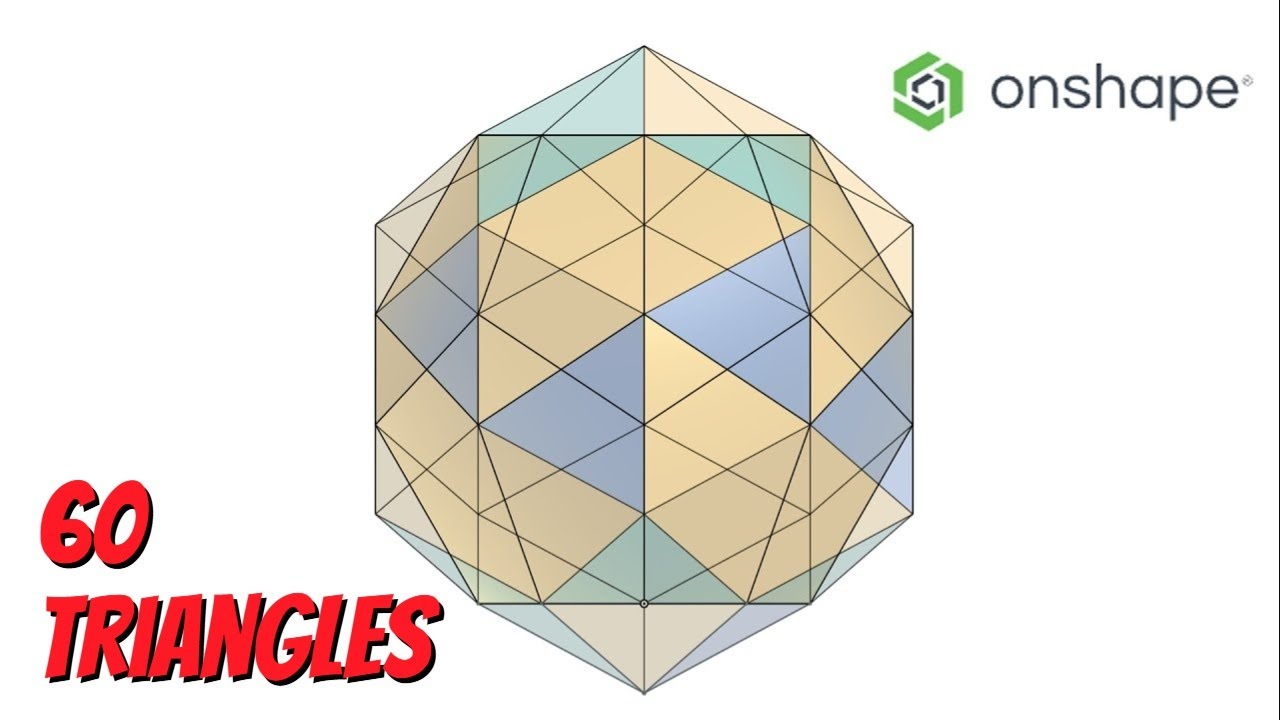
Image taken from the YouTube channel CADemist , from the video titled How to model a pentakis dodecahedron in Onshape .
Mastering the Pentagonal Sphere in Onshape: A Step-by-Step Guide
This guide will walk you through the process of creating a pentagonal sphere in Onshape quickly and efficiently. By following these instructions, you’ll be able to design this complex shape with relative ease.
Understanding the Pentagonal Sphere
Before diving into the design process, it’s crucial to understand the underlying geometry of a pentagonal sphere. Unlike a true sphere, which is perfectly smooth, a pentagonal sphere approximates a sphere using pentagons. This faceted approach simplifies the creation process in CAD software like Onshape. The key is creating a polyhedron with pentagonal faces that evenly distribute across the desired spherical shape.
Setting Up Your Onshape Document
First, let’s configure Onshape for optimal workflow.
- Create a New Document: Start by creating a new document in Onshape. Give it a descriptive name like "Pentagonal Sphere."
- Units: Ensure your units are set correctly. For this tutorial, we’ll use millimeters (mm). Navigate to Document Properties (usually found under the three horizontal bars menu) and set the units to millimeters. This ensures consistency and accuracy.
- Workspace: Familiarize yourself with the Onshape interface. You’ll primarily be using the Sketch and Feature tools.
Creating the Initial Pentagon
The foundation of our pentagonal sphere is a single, accurately dimensioned pentagon.
- Start a New Sketch: Select the Top Plane and start a new sketch.
- Circumscribed Polygon Tool: Choose the "Circumscribed Polygon" tool (found in the sketch tools). This tool allows you to define the pentagon by specifying its circumscribed circle, simplifying the process.
- Draw the Pentagon: Click on the origin (center point) and drag outward to define the circle. Click again to complete the shape. The initial shape will likely be a hexagon; don’t worry.
- Change the Number of Sides: As you create the shape, you’ll see a number above it (probably "6"). Click on this number and change it to "5" to create a pentagon.
- Dimensioning the Pentagon: Now, accurately dimension the pentagon. This is crucial for controlling the overall size of your pentagonal sphere.
- Select the Dimension tool.
- Click on one of the pentagon’s sides.
- Enter the desired length. A good starting point is 20 mm, but you can adjust this based on your desired sphere size.
- Accept the Sketch: Click the green checkmark to accept the sketch.
Extruding the Pentagon
Next, we’ll extrude the pentagon to give it some thickness.
- Select the Extrude Tool: Choose the "Extrude" tool from the feature toolbar.
- Select the Pentagon: Select the pentagon you just sketched.
- Set the Extrude Depth: Set the extrusion depth to a small value, such as 5 mm. This thickness will help with subsequent features.
- Accept the Extrude: Click the green checkmark to accept the extrude.
Creating the Triangular Faces
Now comes the tricky part – creating the triangular faces that will connect the pentagons and approximate the sphere. This uses the "Pattern" and "Loft" features.
- Create a New Sketch (End Face): Select one of the pentagon’s end faces (not one of the sides) and start a new sketch.
- Locate the Midpoint: Draw a construction line connecting one vertex of the pentagon to the midpoint of the opposite side. Repeat this for all 5 vertices. Using the sketch tools, toggle the "Construction" tool. This will create dashed lines that won’t affect the geometry.
- Sketch the Triangle (First Iteration): Sketch a triangle, where two points connect to two vertices of the pentagon, and the remaining point of the triangle connects to the midpoint of the opposite edge.
- Extrude the Triangle: Extrude the triangle, setting a height appropriate for the desired roundness of the sphere. Experiment with the height to find the best result.
- Circular Pattern: Use the "Circular Pattern" tool to replicate the extrude to the remaining sides of the pentagon.
- Rounds: Add "Round" features to round the edges of the triangles and the connecting points of the pentagon.
Refining the Pentagonal Sphere
At this point, you’ll have a partially formed pentagonal sphere. Refine it with the following steps.
- Rounds (Fillets): Apply the "Round" (or "Fillet") feature to the edges of the pentagons and triangles to soften the sharp corners and improve the appearance. Experiment with different round radii to achieve your desired aesthetic.
- Shell (Optional): If you want a hollow pentagonal sphere, use the "Shell" feature. Select all the outer faces of the sphere and set the desired wall thickness.
- Mirroring: Use the mirror function around different planes of the created part. This would create a complete part that resembled a sphere.
Best Practices
- Accuracy: Pay close attention to dimensions. Even small inaccuracies can compound and result in a distorted final product.
- Experimentation: Don’t be afraid to experiment with different values for extrusion depths, round radii, and shell thicknesses to achieve the desired look and feel.
- Organization: Keep your feature tree organized. Rename features descriptively so you can easily find and modify them later.
- Simplify (When Possible): Look for opportunities to simplify the design by using patterns and mirroring to reduce the number of individual features.
By following these steps and experimenting with different values, you can create stunning and accurate pentagonal spheres in Onshape.
FAQs: Pentagonal Sphere Onshape Design
Here are some frequently asked questions regarding creating pentagonal spheres in Onshape. We hope these answer any initial questions you might have.
What exactly is a pentagonal sphere in Onshape, and why would I want to design one?
A pentagonal sphere in Onshape is a sphere-like shape constructed primarily from pentagonal faces. It’s not a perfect sphere, but an approximation with distinct facets. It’s often created for visual design, artistic projects, or for representing structures where geodesic shapes are important. Think of it as a stylized soccer ball.
Is it really possible to design a pentagonal sphere in Onshape within minutes?
Yes! The key is using the correct techniques, specifically leveraging Onshape’s features for pattern creation and feature mirroring. The tutorial demonstrates a streamlined workflow that allows for a relatively quick and efficient design process of a pentagonal sphere in Onshape.
What are the main challenges when designing a pentagonal sphere on Onshape?
The primary challenge lies in accurately creating and arranging the pentagonal facets to form a closed, sphere-like shape. Precision in sketching and dimensioning is crucial. The tutorial outlines how to overcome these challenges using the transform and pattern tools effectively, so you can easily create a pentagonal sphere Onshape.
Can this pentagonal sphere design be easily modified after creation?
Absolutely. Because the design is parametric within Onshape, you can modify the dimensions of the individual pentagons, the overall size of the sphere, or the number of facets. This allows for great flexibility in creating different variations of the pentagonal sphere Onshape model.
Alright, hope you’ve got a good handle on creating that *pentagonal sphere onshape* now! Go forth and design some awesome stuff. Let me know if you have any questions or cool projects you make!
