Paint Wood Like a Pro: Secrets for a Perfect Finish
Achieving a professional finish when painting wood relies heavily on the paintability of wood itself. Preparation, a critical step often underestimated, significantly impacts how well the paint adheres and looks. Benjamin Moore, a leading paint manufacturer, provides exceptional products specifically formulated for enhancing the paintability of various wood types. Understanding the nuances between different wood species, such as Pine, is crucial because their varying porosity affects paint absorption. Utilizing a high-quality Primer, like those offered by reputable brands, maximizes the paintability of the wood by creating a smooth, uniform surface.
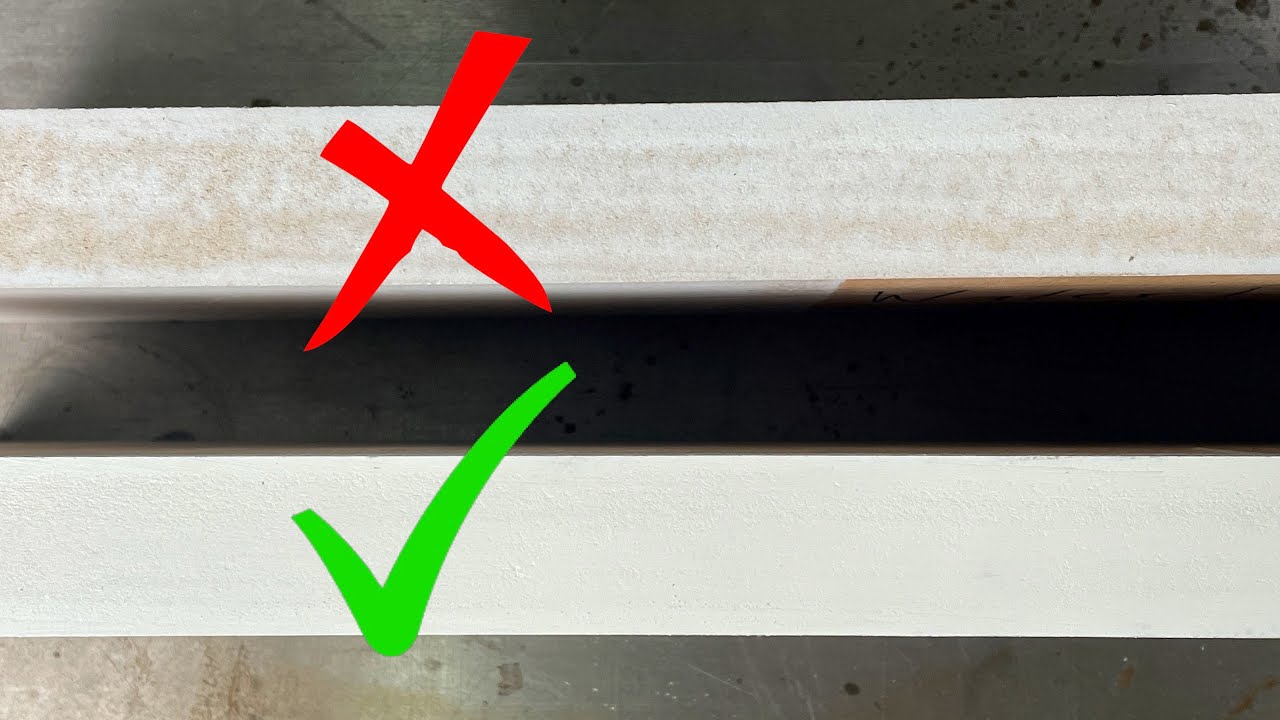
Image taken from the YouTube channel The Funny Carpenter , from the video titled The Secret To Painting Raw Wood and MDF! .
Painting Wood Like a Pro: Maximizing the Paintability of Wood
This article aims to guide readers towards achieving a professional-looking paint finish on wood, emphasizing techniques that improve the wood’s receptiveness and overall paintability. We will cover surface preparation, priming, painting techniques, and troubleshooting common issues.
1. Understanding the Paintability of Wood
The term "paintability of wood" refers to how readily wood accepts and retains paint, impacting the finish’s appearance, durability, and longevity. Factors influencing paintability include the wood’s species, its surface condition, and any existing coatings or treatments.
1.1 Wood Species and Paintability
Different wood species exhibit varying degrees of paintability.
- Hardwoods (e.g., oak, maple, cherry): Generally denser and have tighter grains, making them less porous and potentially requiring more extensive preparation for optimal paint adhesion. They can also have prominent grain patterns that might show through paint, requiring grain filling for a perfectly smooth finish.
- Softwoods (e.g., pine, fir, cedar): Softer and more porous than hardwoods. They tend to absorb paint more readily but can also be prone to sap bleed and raised grain if not properly prepared.
- Engineered Wood (e.g., MDF, plywood): MDF (Medium Density Fiberboard) has an incredibly smooth surface and paints exceptionally well. Plywood’s paintability depends on the quality of its veneer; higher-grade plywood typically provides a better surface for painting.
1.2 Surface Condition: Key to Success
The wood’s surface condition is paramount for achieving a professional paint job. Clean, smooth, and properly prepared surfaces ensure optimal paint adhesion and a flawless final finish.
2. Preparing the Wood Surface for Painting
This step significantly impacts the paintability of wood and should not be rushed.
2.1 Cleaning the Wood
Remove dirt, dust, grease, and any other contaminants.
- For Previously Painted Surfaces: Wash with a mild detergent and water solution. Rinse thoroughly and allow to dry completely.
- For Bare Wood: Wipe down with a damp cloth or use a tack cloth to remove dust.
2.2 Sanding the Wood
Sanding creates a slightly rough surface, promoting better paint adhesion.
- For Previously Painted Surfaces: Sand to lightly roughen the existing finish, removing any loose paint or imperfections. Use a medium-grit sandpaper (120-180 grit).
- For Bare Wood: Start with a coarser grit sandpaper (80-120 grit) to smooth out any rough areas, then move to a finer grit (180-220 grit) for a smooth finish. Always sand with the grain.
- Between Coats of Paint: Lightly sand with a very fine-grit sandpaper (220-320 grit) to remove any imperfections or brush marks.
2.3 Filling Imperfections
Use wood filler to repair any holes, cracks, or dents.
- Apply the wood filler according to the manufacturer’s instructions.
- Allow the filler to dry completely.
- Sand the filled areas smooth, blending them with the surrounding wood surface.
2.4 Removing Dust After Sanding
Thoroughly remove all sanding dust using a tack cloth or a vacuum with a brush attachment. This is crucial for good adhesion.
3. Priming the Wood
Priming is an essential step that significantly enhances the paintability of wood. It creates a uniform surface, seals the wood, and improves paint adhesion.
3.1 Choosing the Right Primer
Select a primer appropriate for the type of wood and the type of paint you’re using.
- Oil-Based Primers: Excellent for sealing wood and preventing tannin bleed (discoloration caused by naturally occurring chemicals in the wood). Suitable for both interior and exterior projects.
- Latex Primers: Easier to clean up than oil-based primers and are generally more flexible, making them less prone to cracking. Ideal for interior projects.
- Shellac-Based Primers: Excellent for stain blocking and can be used under both oil-based and latex paints. Dries quickly.
3.2 Applying the Primer
Apply the primer evenly, following the manufacturer’s instructions.
- Use a brush, roller, or sprayer.
- Apply one or two coats of primer, allowing each coat to dry completely before applying the next.
- Lightly sand the primed surface with fine-grit sandpaper (220-320 grit) to remove any imperfections.
- Remove sanding dust before applying the paint.
4. Painting Techniques for a Professional Finish
Proper painting techniques are essential for achieving a smooth, durable, and professional-looking finish.
4.1 Choosing the Right Paint
Select a high-quality paint that is appropriate for the intended use and the type of wood.
- Latex Paints: Water-based, easy to clean up, and offer good color retention. Ideal for interior projects.
- Oil-Based Paints: Durable and provide a smooth, glossy finish. Suitable for both interior and exterior projects, but require more effort to clean up.
4.2 Applying the Paint
Apply thin, even coats of paint, allowing each coat to dry completely before applying the next.
- Brushing: Use high-quality brushes designed for the type of paint you’re using. Apply the paint in long, smooth strokes, following the grain of the wood.
- Rolling: Use a roller with the appropriate nap length for the surface. Apply the paint in a "W" pattern, then roll over the area to smooth it out.
- Spraying: Provides the smoothest finish but requires specialized equipment and experience.
4.3 Preventing Runs and Drips
Avoid applying too much paint at once, which can lead to runs and drips.
- Load the brush or roller lightly with paint.
- Apply the paint in thin, even coats.
- If you see any runs or drips, brush them out immediately.
4.4 Sanding Between Coats
Lightly sand between coats of paint with fine-grit sandpaper (220-320 grit) to remove any imperfections and create a smoother surface for the next coat.
5. Troubleshooting Common Painting Issues
Even with careful preparation and application, painting wood can sometimes present challenges. Addressing these issues promptly is crucial.
5.1 Brush Marks
- Cause: Using a low-quality brush, applying too much paint, or not sanding between coats.
- Solution: Use a high-quality brush, apply thin coats of paint, and sand lightly between coats. You can also add a paint conditioner to improve flow.
5.2 Paint Runs and Drips
- Cause: Applying too much paint at once.
- Solution: Apply thin, even coats of paint. Brush out any runs or drips immediately.
5.3 Bubbling
- Cause: Painting over a contaminated surface or applying paint in direct sunlight.
- Solution: Clean the surface thoroughly before painting and avoid painting in direct sunlight.
5.4 Peeling Paint
- Cause: Poor surface preparation, painting over a glossy surface without sanding, or using incompatible paints.
- Solution: Properly prepare the surface by cleaning, sanding, and priming. Use compatible paints.
5.5 Raised Grain
- Cause: Moisture exposure or applying water-based paint to bare wood.
- Solution: Seal the wood with a primer before painting. Lightly sand the surface after priming to remove any raised grain. Consider using an oil-based primer.
5.6 Tannin Bleed
- Cause: Tannins (naturally occurring chemicals in wood) leaching through the paint, causing discoloration.
- Solution: Use a stain-blocking primer or an oil-based primer to seal the wood.
FAQs: Painting Wood Like a Pro
Here are some common questions readers have about achieving a perfect painted finish on wood.
What kind of primer should I use on wood?
The best primer depends on the type of wood and the paint you’re using. Oil-based primers are excellent for preventing tannin bleed-through on woods like redwood or cedar and promoting paint adhesion. Acrylic latex primers are a good all-around choice and are easier to clean up. Always check the paint manufacturer’s recommendations for primer compatibility for optimal paintability of wood.
How many coats of paint are needed for a durable finish?
Generally, two coats of paint are recommended for good coverage and durability. However, lighter colors or when painting over a dark surface might require three coats. Ensure each coat is completely dry before applying the next for the best results.
Why is sanding so important before painting wood?
Sanding creates a smooth surface for the paint to adhere to and removes any imperfections. It also helps to create a "key" for the primer to grip, improving the paintability of wood and resulting in a more durable and professional-looking finish.
How do I prevent brush strokes from showing in the final finish?
Use a high-quality brush designed for the type of paint you’re using. Apply thin, even coats, and avoid pressing too hard. You can also consider using a paint conditioner to help the paint flow more smoothly. Light sanding between coats can also minimize brush strokes and improve the final appearance and paintability of wood.
So there you have it! Hopefully, you’re now armed with the knowledge to tackle your next project and boost the paintability of wood for a gorgeous, lasting finish. Happy painting!
