Rainbow Magic: Paint It Yourself! Easy Steps Inside
Creating a vibrant rainbow on canvas is easier than you think! Acrylic paints, versatile and forgiving, are the ideal medium for this project, much like those favored by the renowned Bob Ross, known for his accessible painting techniques. The color spectrum, often explored in art classes focusing on color theory, provides the foundation for understanding how colors blend to form a rainbow. Discovering tutorials to show me how to paint a rainbow offers a relaxing and rewarding experience, transforming blank canvases into colorful masterpieces ready to brighten any living room.
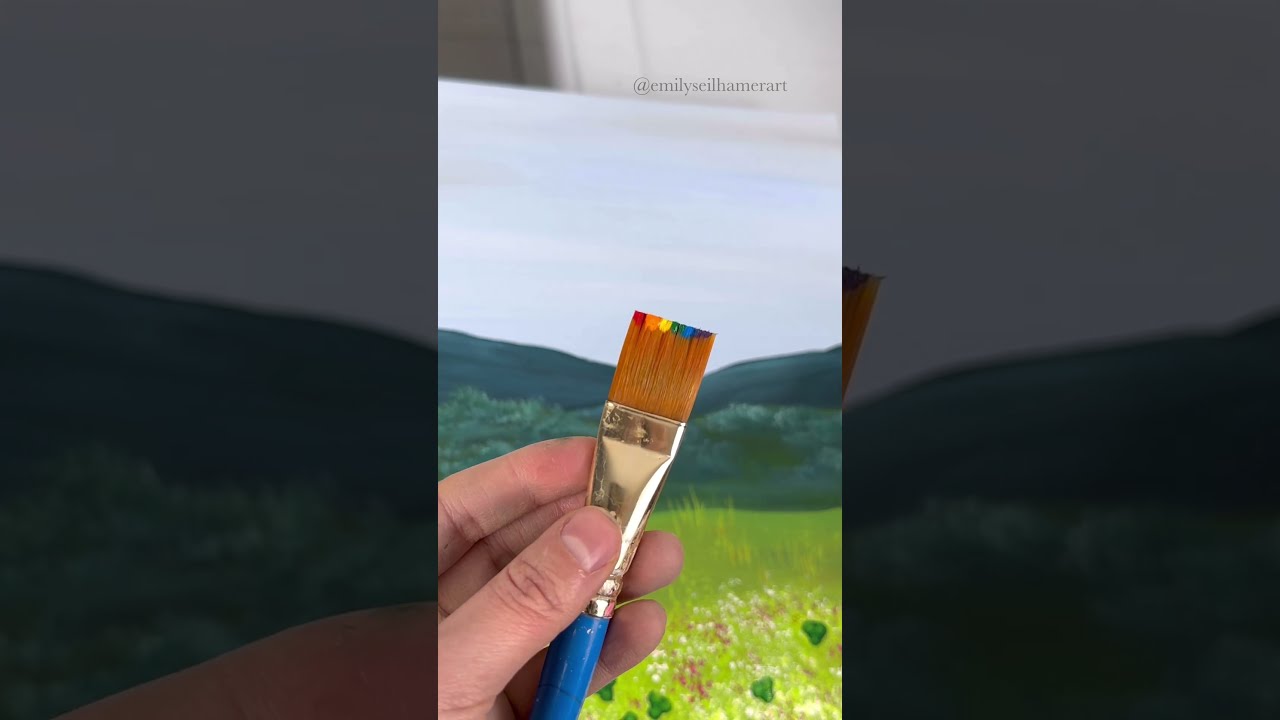
Image taken from the YouTube channel Emily Seilhamer , from the video titled Painting a rainbow! 🌈 🎨 #easypainting #tipsandtricks #beginnerfriendly #rainbow #rainbows .
Rainbow Magic: Paint It Yourself! Easy Steps Inside
Want to bring a burst of color and joy into your life? Painting a rainbow is a surprisingly simple and satisfying project. Whether you’re a seasoned artist or a complete beginner, these easy steps will show me how to paint a rainbow you’ll be proud of. Let’s get started!
Gathering Your Supplies
Before you can start creating your rainbow masterpiece, you need to assemble your art supplies. Having everything ready beforehand will make the process smoother and more enjoyable.
-
Paints: Acrylic paints are a great choice for beginners because they’re versatile, easy to clean up, and dry quickly. You’ll need:
- Red
- Orange
- Yellow
- Green
- Blue
- Violet (or purple)
You can buy these individually, or as part of a larger acrylic paint set.
-
Brushes: A variety of brush sizes will give you more control. Consider these:
- A large, flat brush for broad strokes and backgrounds.
- A medium, round brush for finer details.
- A small, detail brush for outlining and small areas.
-
Painting Surface: You have many options! Here are a few ideas:
- Canvas board: A classic choice that’s readily available and affordable.
- Watercolor paper: Offers a smooth surface and absorbs paint well.
- Wood panel: Provides a sturdy base for your artwork.
- Even heavy paper!
-
Palette: A palette is essential for mixing your paints. A plastic or ceramic plate will work perfectly if you don’t have a traditional palette.
-
Water Container: For rinsing your brushes.
-
Paper Towels or a Rag: For wiping excess paint from your brushes.
-
Pencil and Eraser (Optional): For sketching your rainbow arc beforehand.
-
Ruler or Compass (Optional): To help create even and symmetrical arcs for a neat rainbow.
Setting Up Your Workspace
Preparation is key! A tidy and well-lit workspace makes the painting process much more pleasant.
- Choose a well-lit area: Natural light is ideal, but good artificial light will also work.
- Protect your work surface: Cover your table with newspaper, a plastic tablecloth, or an old sheet to prevent paint splatters.
- Arrange your supplies: Place your paints, brushes, water container, and paper towels within easy reach.
Painting Your Rainbow: Step-by-Step
Now for the fun part! Follow these steps, and you’ll be amazed at how easily you can show me how to paint a rainbow.
-
Sketch the Arcs (Optional): Lightly sketch the arcs of your rainbow onto your chosen surface. Use a pencil and ruler/compass for accuracy, or freehand it if you prefer a more whimsical look. Remember, a rainbow has at least six distinct bands of color!
-
Start with Red: Using your large, flat brush, paint the outermost arc of the rainbow with red paint. Apply a smooth, even coat.
-
Add Orange: Next, paint the arc just inside the red arc with orange paint. Try to keep a clean line between the colors.
-
Continue with Yellow: Paint the next arc with yellow.
-
Introduce Green: Paint the next arc with green.
-
Bring in Blue: Paint the next arc with blue.
-
Finish with Violet: Finally, paint the innermost arc with violet (purple).
-
Let it Dry: Allow your rainbow to dry completely before adding any details or embellishments. This typically takes 20-30 minutes with acrylics, but can vary depending on the thickness of the paint application and the humidity.
Tips and Techniques for Rainbow Perfection
- Mixing Colors: If you don’t have a specific shade, you can mix your own! For example, mix red and yellow to create orange, or blue and yellow to create green.
- Blending: For a softer, more blended look, gently blend the edges of each color arc while the paint is still wet.
- Layering: Once the base colors are dry, you can add details like clouds, sparkles, or even little characters to personalize your rainbow.
- Going for gradients: To create gradients within your rainbow, apply slightly different pressures when painting each colour segment to allow more or less paint to build up in some areas, gradually altering the tone.
Troubleshooting Your Rainbow
- Colors Muddy? Avoid dipping your brush directly into multiple colors without rinsing it thoroughly. Use separate brushes for each color to prevent unwanted mixing.
- Uneven Lines? Practice makes perfect! Try using painter’s tape to create crisp, clean lines, especially if you’re aiming for a more geometric style.
- Paint Too Thick? Add a small amount of water to your acrylic paint to thin it out. Be careful not to add too much, as this can make the paint runny.
Adding Extra Flair
Once you’ve mastered the basic rainbow, why not try these fun variations?
- Rainbow with Clouds: Add fluffy white clouds at the base of the rainbow.
- Glitter Rainbow: Sprinkle glitter over the wet paint for a dazzling effect.
- Watercolor Rainbow: Use watercolor paints for a softer, more translucent look.
- Rainbow on Black Background: Paint your rainbow on a black canvas for a dramatic and eye-catching result.
With a little practice, you’ll be creating beautiful rainbow masterpieces in no time. Remember, the most important thing is to have fun and let your creativity shine! Remember, you learned how to show me how to paint a rainbow!
Rainbow Magic: Paint It Yourself! FAQ
Here are some frequently asked questions about painting your own rainbow using the techniques described in "Rainbow Magic: Paint It Yourself! Easy Steps Inside."
What kind of paint should I use?
Acrylic paints are recommended for their vibrant colors and quick drying time. Watercolor paints can also be used for a softer, more blended look.
What’s the easiest way to paint a rainbow arc?
A simple trick is to use a compass or a large plate to trace the initial arc shape lightly with a pencil. This provides a guide for painting the rainbow layers.
How do I create the different colors of the rainbow?
You can purchase individual colors or mix your own! Red, orange, yellow, green, blue, indigo, and violet are the traditional rainbow colors. Understanding color mixing will allow you to customize your rainbow. The guide will show me how to paint a rainbow that pops!
What if I make a mistake?
Don’t worry! Painting is all about experimenting. If you’re using acrylics, you can paint over mistakes once they are dry. For watercolors, try lifting the color gently with a damp brush.
Alright, go on and give painting your own rainbow a try! You might surprise yourself. Hope this helped you show me how to paint a rainbow and that you have as much fun doing it as I did writing about it! Happy painting!
