Meat Drawing Easy: Simple Steps for Perfect Art!
Want to master meat drawing easy? The process begins with understanding basic anatomy, as illustrator Jane Doe always emphasizes. Next, proper use of drawing tools, specifically graphite pencils, will elevate your technique when following our simple instructions. Finally, exploring the textures of different meats is also critical – think beef’s rough surface versus pork’s smooth form. We’ll teach you how to make meat drawing easy!
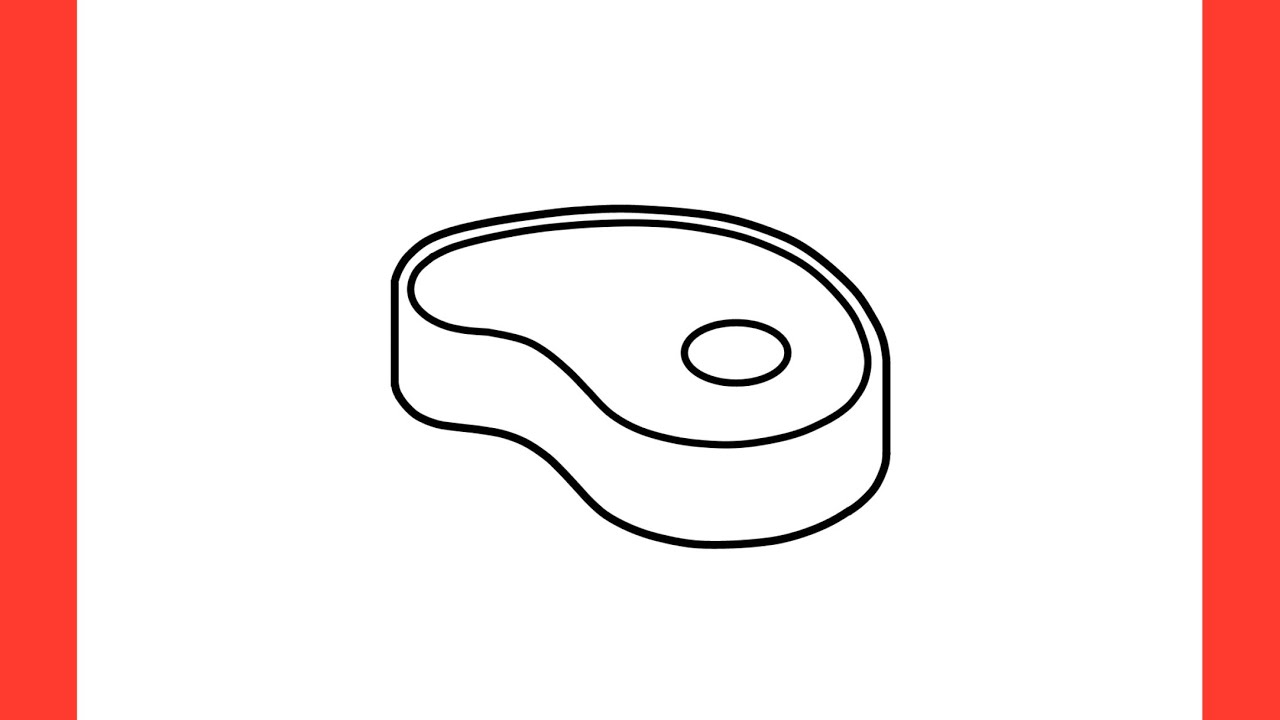
Image taken from the YouTube channel 17 Easy Drawing , from the video titled How to draw a PIECE of MEAT step by step / drawing Steak easy .
Meat Drawing Easy: Simple Steps for Perfect Art!
This guide will walk you through creating easy and appealing meat drawings. We’ll break down the process into manageable steps, ensuring anyone can achieve satisfying results. Focus on the key shapes and textures, and you’ll be surprised at how quickly you can master this unique subject!
Understanding Your "Meat" Subject
Before even putting pencil to paper, let’s consider the different types of meat you might want to draw. This understanding will inform your approach to shape, texture, and color.
Types of Meat and Their Visual Characteristics:
- Steak: Often has defined edges, marbling (fat distribution), and a rich, deep red color. Think about the variations – ribeye, sirloin, etc.
- Chicken: Can be smooth and pale, or have a crispy skin. Focus on the rounded shapes of the breast or the more angular shapes of the drumstick.
- Sausage: Smooth and cylindrical, often with a slightly irregular shape. Consider drawing different types like Italian sausage (coarse texture) or hot dogs (smooth texture).
- Bacon: Wavy, thin, and often translucent. Emphasize the contrast between the lean meat and the fatty streaks.
- Ground Meat: A collection of small pieces, ideal for practicing textural representation.
Essential Observation Skills:
Observe real meat (or high-quality photographs) carefully. Pay attention to:
- Shape: What are the basic geometric forms that make up the subject? (e.g., ovals, cylinders, irregular masses)
- Light and Shadow: Where are the highlights and shadows? This will give your drawing depth.
- Texture: Is the surface smooth, rough, marbled, or grainy?
- Color (if using color): What are the subtle variations in color? (e.g., different shades of red, brown, and pink)
Step-by-Step Drawing Process
Now, let’s get to the practical part! We’ll illustrate the steps using a simple steak drawing as an example, but the principles apply to any type of meat.
1. Basic Shape and Outline:
- Start with a light sketch of the overall shape of the steak. Don’t worry about details at this stage. Think of it as mapping out the general form. A steak is basically a rounded rectangle or oval with irregular edges.
- Use a light pencil stroke (like an HB).
2. Refine the Outline:
- Look closely at your reference. Where are the curves and indentations? Refine your initial outline to reflect these nuances.
- Add details like the fat cap or any noticeable unevenness in the edges.
3. Adding Depth with Shading:
- Identify the light source. This will determine where your highlights and shadows will be.
- Begin shading lightly, building up the darker areas gradually. Use hatching (parallel lines) or blending techniques.
- Pay particular attention to areas where the meat curves or folds, as these will create stronger shadows.
4. Textural Details:
- This is where you bring your drawing to life!
- For steak, add small, irregular lines to represent the muscle fibers.
- Create the marbling effect by drawing small, uneven shapes within the steak, representing the fat. Use lighter shading in these areas.
- Experiment with different pencil strokes to create the desired texture.
5. Final Touches:
- Review your drawing. Are there any areas that need more shading or detail?
- Use an eraser to lighten any areas that are too dark or to create highlights.
- Consider adding a background to enhance your drawing.
Tools and Materials
You don’t need fancy equipment to create effective meat drawings. Here’s a basic list:
- Pencils: A range of graphite pencils (HB, 2B, 4B) will allow you to create different levels of shading.
- Eraser: A kneaded eraser is ideal for lifting graphite and creating subtle highlights.
- Paper: Smooth or slightly textured drawing paper is suitable.
- Reference Image: A clear photograph of your chosen meat will be invaluable.
Tips for Improving Your "Meat Drawing Easy" Skills
- Practice Regularly: The more you draw, the better you’ll become.
- Study Anatomy: Understanding the basic structure of meat (muscle fibers, fat distribution) will help you create more realistic drawings.
- Experiment with Techniques: Try different shading methods, such as hatching, cross-hatching, and blending.
- Don’t Be Afraid to Make Mistakes: Mistakes are part of the learning process. Learn from them!
- Seek Feedback: Ask other artists or friends for constructive criticism.
Common Mistakes to Avoid
- Ignoring the Light Source: Failing to establish a clear light source will result in a flat and unrealistic drawing.
- Overworking the Details: Don’t get bogged down in minute details. Focus on the overall shape and texture.
- Using Too Much Pressure: Start with light pencil strokes and gradually build up the shading.
- Giving Up Too Easily: Meat drawing can be challenging, but with practice and perseverance, anyone can achieve satisfying results.
By following these steps and practicing regularly, you’ll be well on your way to creating impressive and realistic "meat drawing easy" artwork!
Meat Drawing Easy: Frequently Asked Questions
Here are some common questions about creating meat drawings. This guide simplifies the process to help you achieve great results.
What kind of meat works best for meat drawing easy?
Thinly sliced deli meats like ham, turkey, or salami are ideal. They are pliable and easy to manipulate into shapes. Consider the color variations in the meat for visual interest in your drawing.
How do I prevent the meat from drying out while I’m drawing?
Work quickly or lightly mist the meat with water using a spray bottle. This helps keep it moist and prevents cracking. Also, avoid direct sunlight or warm environments.
Can I eat the meat drawing after I’m finished?
While technically you could, it’s generally not recommended. The meat has been handled and exposed to the air, so it’s best to admire your "meat drawing easy" artwork and then discard it.
What can I use as a background for my meat drawing easy?
A clean plate, a piece of parchment paper, or even a slice of bread will work. Choose a background that contrasts with the colors of your meat to make your drawing stand out. Consider the overall aesthetic you are trying to achieve.
And that’s a wrap on making meat drawing easy! Go get creative, have fun, and don’t be afraid to experiment. You’ve got this!
