Mastering ‘Spit’: Figure Drawing Techniques You NEED to Know!
Figure drawing, a foundation of visual arts, builds upon understanding anatomy. Anatomy dictates forms, gesture drawing captures movement, and construction simplifies complex shapes. Mastering ‘Spit’ – the spit verb drawing approach – focuses on identifying the essential flow and energy of a pose; its all about simplified form. In essence, the spit verb drawing strategy aims to breathe life into your drawings by emphasizing the action before adding detail.
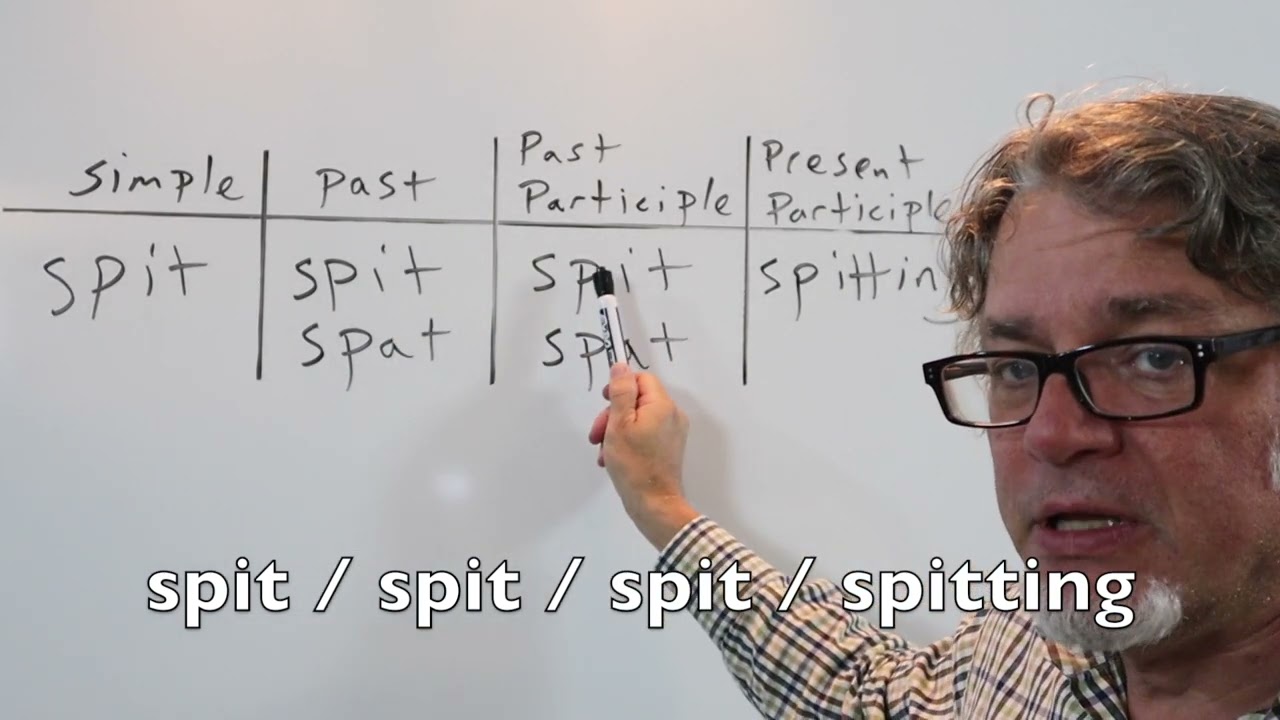
Image taken from the YouTube channel English for the Planet , from the video titled spit .
Mastering ‘Spit’: Figure Drawing Techniques You NEED to Know!
This guide will help you understand and use a technique called "spit shading" (also related to the spit verb drawing) to create beautiful and nuanced figure drawings. Don’t worry if you’ve never heard of it – we’ll break it down step-by-step! It’s a rewarding skill that can elevate your art, adding depth and realism.
What is "Spit Shading" and Why Use It?
Spit shading, which involves the spit verb drawing, might sound a little unusual, but it’s a powerful technique. At its core, it’s a form of controlled watercolor or ink wash shading. The "spit" refers to the small amount of moisture traditionally applied to the brush (we’ll discuss safer alternatives!).
Think of it as a subtle gradient generator. It allows you to create smooth transitions from light to dark, giving your drawings a three-dimensional feel. It excels at depicting form and volume, especially in areas like muscles, shadows, and folds of fabric.
Here’s why you might want to give it a try:
- Subtle Gradations: Achieves smoother transitions than traditional pencil shading.
- Controlled Value: Allows for precise control over light and dark values.
- Emphasis on Form: Accentuates the contours and forms of the figure.
- Unique Aesthetic: Creates a beautiful, almost luminous quality.
Safer Alternatives to Traditional "Spit" Shading
Historically, artists used their own saliva to dilute ink or watercolor on the brush. However, for hygiene reasons, we strongly advise against this practice. Saliva contains bacteria that can contaminate your art supplies and potentially make you sick.
Much better (and safer!) alternatives include:
- Distilled Water: This is the simplest and most readily available option. Use a small container and change the water frequently to keep it clean.
- Watercolor Mediums: Specifically, wetting agents or flow improvers can be added to water to reduce surface tension, making the ink or watercolor flow more smoothly and evenly. These products achieve a similar effect to saliva without the health risks.
- Brush Cleaner: Some brush cleaners are formulated to also act as wetting agents. Check the label to be sure it’s suitable for use with watercolors or inks and for direct contact with your brush during painting.
Essential Materials for Spit Shading
Before you begin, gather the necessary supplies:
- Paper: Hot press watercolor paper is ideal due to its smooth surface, which allows for even washes. Bristol board is another good option.
- Inks or Watercolors: Sepia, black, and Payne’s Gray inks are popular choices. Watercolor pans or tubes will also work. Experiment and find what you like best.
- Brushes: Round brushes with fine tips are essential for detail work. A range of sizes is helpful. Look for brushes specifically designed for watercolor.
- Water Container: To hold your clean water (or wetting agent solution).
- Palette or Mixing Surface: For diluting your inks or watercolors. A ceramic tile works well.
- Paper Towels or Cloth: For blotting your brush.
- Pencil and Eraser: For sketching the figure.
Step-by-Step Guide to Spit Shading (Focus on Spit Verb Drawing)
This section explains the practical application of spit shading, keeping the concept of spit verb drawing in mind – that is, the action of using the technique.
-
Sketch the Figure: Begin with a light pencil sketch of your figure, paying attention to proportions and anatomy.
-
Prepare Your Wash: On your palette, dilute your ink or watercolor with water (or your chosen alternative). Start with a very light value. Remember, it’s easier to add layers than to remove them.
-
Apply the First Wash: Using a clean, damp brush, apply a thin, even wash over the entire area you want to shade. This initial wash establishes the base value.
-
Build Up Layers: Allow the first wash to dry completely. Then, add subsequent washes to areas where you want deeper shadows. Focus on building up values gradually.
- Layering Technique: Apply each layer precisely, focusing on areas where shadows are cast by the form. Think about the direction of the light source and how it affects the shapes and volumes of the figure.
- Controlling Value: To achieve darker values, use less water and more pigment. For lighter values, use more water and less pigment.
-
Use a "Dry Brush" Technique for Details: Load your brush with diluted ink or watercolor, then blot it on a paper towel to remove excess moisture. This creates a "dry brush" effect, which is perfect for adding subtle texture and detail. Drag the brush lightly over the paper to create broken lines and subtle shading.
-
"Lifting" Values: If you accidentally apply too much ink or watercolor, you can "lift" some of the pigment while it’s still wet. Use a clean, damp brush or a paper towel to carefully blot the area.
-
Refine and Adjust: Continue to build up layers and refine the shading until you achieve the desired effect. Take your time and be patient.
Tips for Success
- Practice Regularly: The more you practice spit shading, the better you’ll become.
- Experiment with Different Values: Try using a range of values to create depth and dimension.
- Observe Light and Shadow: Pay close attention to how light and shadow interact with the forms of the figure. Study real-life examples or photographs.
- Don’t Be Afraid to Experiment: Try different inks, watercolors, brushes, and techniques to find what works best for you.
- Start Small: Begin with small, simple drawings before tackling larger, more complex pieces.
- Keep Your Water Clean: Change your water frequently to avoid muddying your colors.
- Be Patient: Spit shading is a slow, deliberate process. Don’t rush it.
- Embrace Imperfection: Mistakes are part of the learning process. Don’t be afraid to experiment and learn from your errors.
Troubleshooting Common Issues
| Issue | Solution |
|---|---|
| Uneven washes | Use hot press paper. Ensure your brush is evenly loaded. Tilt the paper as you apply the wash. |
| Muddy colors | Clean your brush frequently. Use clean water. Don’t overwork the washes. |
| Washes are too dark | Use more water in your mixture. Lift some of the pigment while it’s still wet. |
| Washes are too light | Add more pigment to your mixture. Apply more layers of wash. |
| Lack of detail | Use a smaller brush. Use a dry brush technique to add subtle texture and detail. |
| Paper buckles | Stretch your paper before starting. Use heavier weight paper. |
FAQs About Mastering "Spit": Figure Drawing Techniques
Here are some frequently asked questions about the spit verb drawing technique and how to effectively incorporate it into your figure drawing practice.
What exactly is "spit" in the context of figure drawing?
"Spit" in this context isn’t literal. It’s a drawing technique, also known as "verb drawing," where you use energetic, gestural lines to quickly capture the essence of a pose. It’s about speed and feeling, not precise detail.
How does "spit" verb drawing differ from traditional figure drawing?
Traditional figure drawing often focuses on careful measurement and anatomical accuracy. "Spit" prioritizes capturing the dynamic movement and energy of the pose first, before refining details. It encourages a looser, more expressive approach.
Why is mastering "spit" important for figure drawing?
Mastering the "spit" technique helps you develop a stronger understanding of gesture and movement. It allows you to quickly capture the vital essence of a pose, which forms a solid foundation for more detailed and accurate drawings later. Verb drawing will make you more efficient and intuitive.
Can I use "spit" drawing with any medium?
Yes! "Spit," or verb drawing, works well with various mediums. From charcoal and pencils to digital tools, the core principle of capturing movement with quick, energetic lines remains the same. Experiment and see what works best for your style.
Alright, you’ve got the lowdown on spit verb drawing! Go grab your pencils, loosen up your wrists, and start sketching. Don’t be afraid to experiment and, most importantly, have fun. Now go make some art!
