Shower Waterproofing? Joint Compound Is Your Secret Weapon!
Shower waterproofing is a crucial aspect of bathroom renovation. Proper waterproofing prevents leaks and structural damage. Joint compound, often used for drywall, offers a surprisingly effective solution when creating a joint compound shower. The Tile Council of North America (TCNA) provides guidelines, ensuring best practices for shower construction. Understanding thin-set mortar is essential, complementing joint compound in sealing the joint compound shower. Consider using the correct tools and following instructions carefully to achieve a waterproofed joint compound shower, saving time and money in the long run.
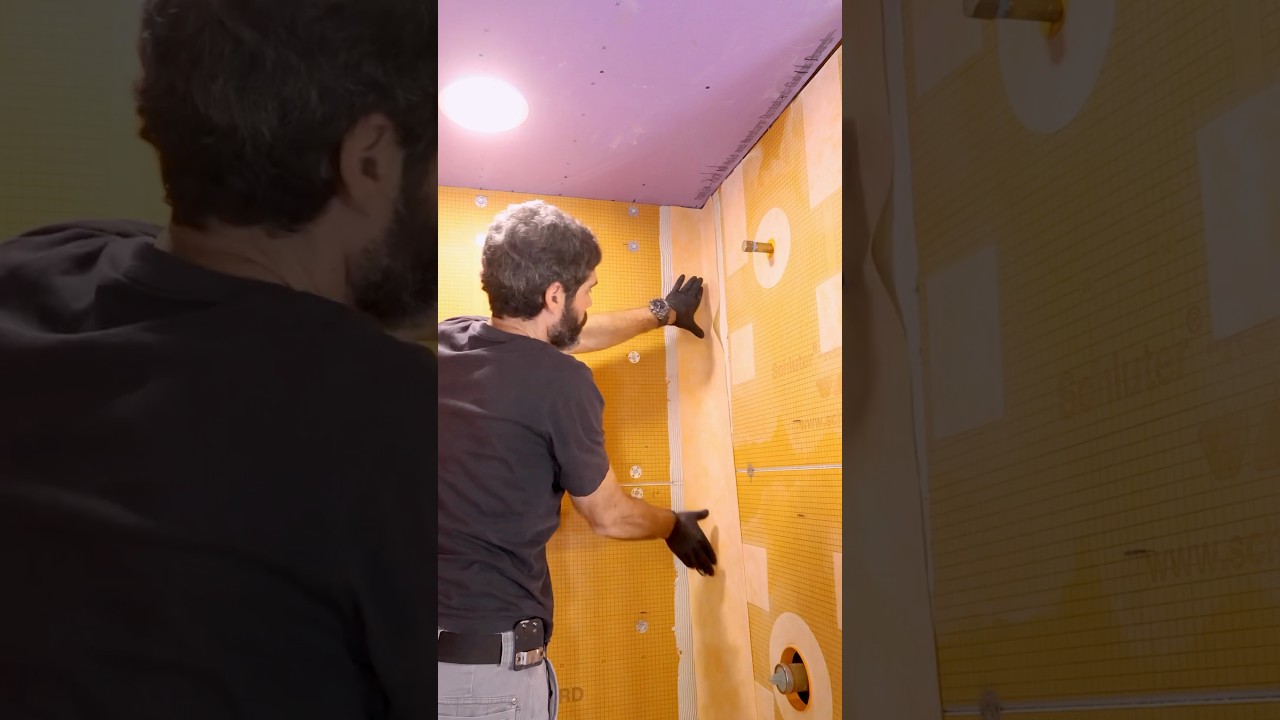
Image taken from the YouTube channel Home Repair Tutor , from the video titled How to Waterproof Shower Wall Corners – #shorts #homerepairtutor .
Unveiling the Power of Joint Compound for Shower Waterproofing: Your Guide
This article explores the use of joint compound in shower waterproofing, focusing on how it can contribute to a water-tight barrier. We will examine its proper application, limitations, and when it’s most effective as part of a comprehensive waterproofing system.
Understanding Joint Compound’s Role in Shower Waterproofing
Joint compound, primarily used for drywall finishing, is sometimes employed in shower waterproofing. However, it’s crucial to understand its limitations. While it can fill small gaps and create a smooth surface, it’s not a substitute for dedicated waterproofing membranes or sealants. Its effectiveness depends heavily on the specific product used and the overall waterproofing strategy. The key phrase to keep in mind is joint compound shower.
Types of Joint Compound and Their Suitability
Not all joint compounds are created equal. Some are better suited for shower applications than others.
- All-Purpose Joint Compound: This is the most common type, but generally not recommended for direct water contact due to its tendency to dissolve with prolonged moisture exposure.
- Setting-Type Joint Compound (Mud): This hardens through a chemical reaction, making it more water-resistant than all-purpose compound. It’s a better option, but still requires a waterproofing membrane.
- Water-Resistant Joint Compound: Some manufacturers produce joint compounds specifically formulated to resist moisture. Look for products explicitly labeled for this purpose, but remember they are usually water-resistant, not waterproof.
It is imperative to check the product’s specification for its properties and intended application.
Why Joint Compound Alone Is Not Enough
Although some types of joint compound offer improved water resistance, they are porous and can absorb water over time. This can lead to mold growth, crumbling, and eventual failure of the shower structure.
Here’s why relying solely on joint compound for shower waterproofing is risky:
- Porosity: Joint compound is not inherently waterproof. Water can penetrate its surface.
- Cracking: Temperature fluctuations and movement of the shower structure can cause cracks in the joint compound, allowing water intrusion.
- Lack of Flexibility: Unlike waterproofing membranes, joint compound is rigid and cannot accommodate movement without cracking.
Proper Application Techniques for Joint Compound in Shower Preparation
If using joint compound as part of your shower preparation (always in conjunction with a waterproofing membrane), careful application is crucial.
Surface Preparation
- Cleanliness: Ensure the surface is clean, dry, and free of debris.
- Priming: Apply a suitable primer to enhance adhesion. This is particularly important for surfaces like concrete or cement board.
Application Steps
- Mixing: Mix the joint compound to a smooth, creamy consistency according to the manufacturer’s instructions.
- Applying: Apply thin, even coats, allowing each coat to dry completely before applying the next. This prevents cracking and ensures proper adhesion. Use a taping knife of appropriate size.
- Sanding: Once fully dry, sand the surface smooth using fine-grit sandpaper. Be careful not to over-sand, as this can remove too much material.
- Cleaning: Remove all sanding dust before proceeding with the waterproofing membrane application.
Table: Drying Time vs. Joint Compound Type (Approximate)
| Joint Compound Type | Drying Time (per coat) |
|---|---|
| All-Purpose | 12-24 hours |
| Setting-Type (Quick Set) | 20-90 minutes |
| Setting-Type (Standard) | 4-8 hours |
Note: Drying times can vary depending on humidity and temperature.
Integrating Joint Compound with a Waterproofing System
Joint compound, specifically designed for tiling purposes, can play a supportive role, but must be incorporated into a comprehensive waterproofing system. Here’s how:
Best Practices
- Waterproof Membrane: Always apply a high-quality waterproofing membrane over the joint compound. This is the primary barrier against water penetration.
- Sealing: Properly seal all corners, seams, and penetrations (e.g., pipes, showerheads) with waterproof sealant.
- Grout Sealer: Apply a grout sealer after tiling to further protect against water infiltration.
Examples of Waterproofing Membranes:
- Liquid Waterproofing Membranes: These are brushed or rolled onto the surface and create a seamless, waterproof barrier. Examples include RedGard and Hydro Ban.
- Sheet Membranes: These are pre-fabricated sheets of waterproofing material that are adhered to the surface. Schluter Kerdi is a common example.
Using joint compound alone to create a joint compound shower is insufficient for proper waterproofing and long-term shower integrity. Employ it as a preparation step within a complete waterproofing approach.
FAQ: Joint Compound & Shower Waterproofing
Got questions about using joint compound for shower waterproofing? Here are some quick answers to help you understand this method better.
Can I really use joint compound to waterproof my shower?
Yes, in specific applications. Joint compound isn’t a standalone waterproofing solution, but certain types (specifically setting-type) can create a hard, water-resistant layer when combined with proper waterproofing membranes. Ensure you use a quality setting-type joint compound shower application to create a good surface for the waterproofing membrane.
What are the benefits of using joint compound in a shower?
It provides a smooth, even surface to apply a proper waterproofing membrane such as RedGard, or Kerdi membrane. Using joint compound in the shower can correct imperfections on cement boards and create a flat surface before waterproofing, promoting a better membrane bond. It is more affordable than other surface preparation methods.
What type of joint compound should I use for shower waterproofing?
Use a setting-type joint compound (also called “mud”), not a drying-type compound. Setting-type hardens chemically and is more water-resistant. Drying-type relies on evaporation and will re-soften when wet and is not appropriate for a joint compound shower.
Is joint compound alone enough to waterproof a shower?
No. Joint compound, even setting-type, is water-resistant, but not 100% waterproof. Always apply a dedicated waterproofing membrane (like RedGard or Kerdi) over the joint compound in your shower area. This combination will provide the best protection against water damage.
So, give the joint compound shower method a try – you might be surprised at how well it works! Good luck with your shower project!
