Draw Pomegranate Segments Like a Pro! [Easy Guide]
Crafting realistic fruit illustrations, particularly the intricate structures found in subjects like pomegranate segments drawing, often requires understanding basic anatomy. The principles of perspective, commonly taught in art institutions like The Florence Academy of Art, are crucial for rendering the three-dimensional form of each individual seed-filled section. Utilizing tools like graphite pencils, along with keen observation skills, allows artists to capture the subtle variations in shape, texture, and light that define the unique beauty of pomegranate segments drawing.
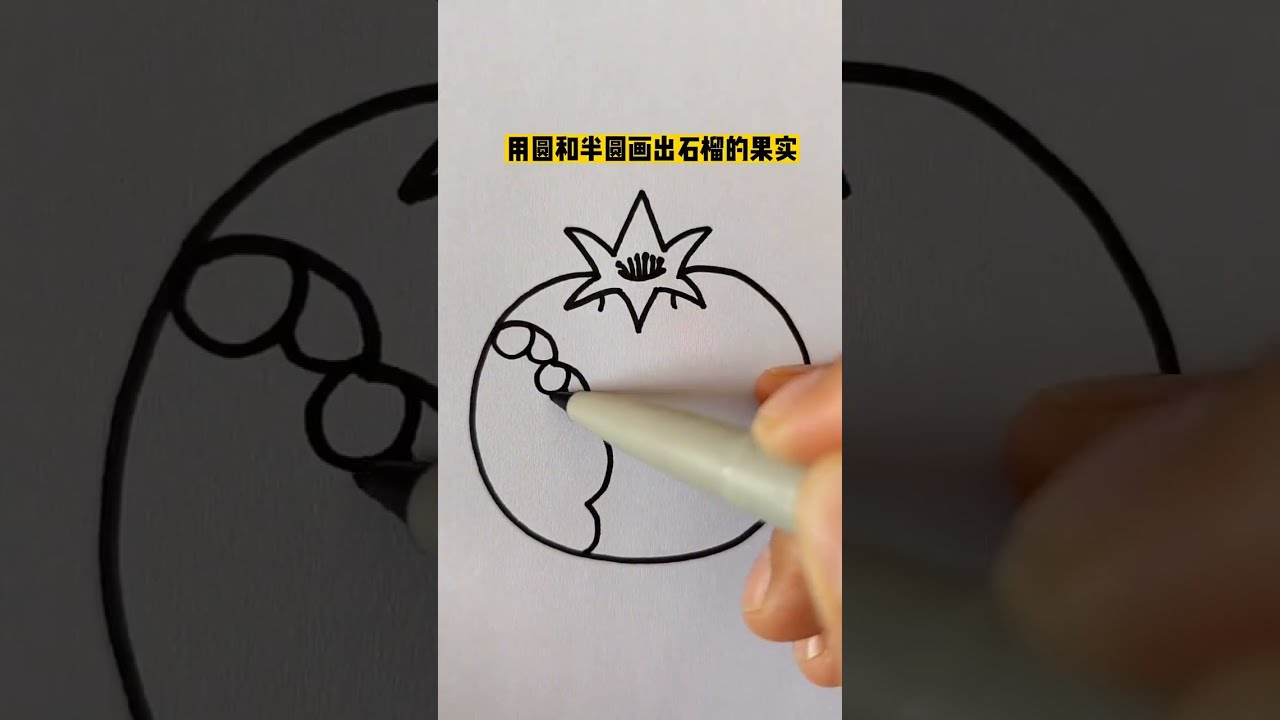
Image taken from the YouTube channel DIY Tutorials , from the video titled In this way, you will learn how to draw a pomegranate with simple strokes .
Crafting the Perfect "Draw Pomegranate Segments Like a Pro! [Easy Guide]" Article
To create an engaging and effective article centered around "pomegranate segments drawing," a well-structured layout is crucial. This guide outlines the ideal arrangement to provide readers with clear instructions and valuable information.
1. Introduction: The Allure of Pomegranate Art
- Purpose: Hook the reader and clearly state the article’s objective. Briefly introduce the pomegranate as a subject and highlight the appeal of drawing its segments.
- Content:
- Start with an engaging opening, perhaps referencing the fruit’s rich history or symbolic meaning.
- Clearly state that the article will guide readers through the process of drawing realistic pomegranate segments.
- Mention the simplicity of the process and that no advanced artistic skills are required.
- Include the main keyword, "pomegranate segments drawing," naturally within the opening paragraphs.
- Example: "The jewel-toned seeds of a pomegranate, nestled within their segments, are a sight to behold. This guide reveals how to capture their beauty through simple drawing techniques. No matter your artistic level, you’ll learn how to master pomegranate segments drawing in just a few easy steps!"
2. Understanding Pomegranate Anatomy: A Foundation for Drawing
- Purpose: Provide essential background knowledge of the fruit’s structure to aid in accurate representation.
- Content:
- Explain the composition of a pomegranate – the outer skin, the inner membrane, and the arrangement of the segments.
- Focus particularly on the variations in segment size, shape, and orientation within the fruit.
- Include visual aids like diagrams or photographs of a pomegranate cut open to showcase its internal structure.
- Briefly mention the importance of observing these details for a realistic drawing.
3. Materials You’ll Need: Setting Up Your Workspace
- Purpose: Inform the reader about the necessary drawing tools.
-
Content:
-
Provide a concise list of materials required.
-
Offer alternative options for beginners or those who prefer specific mediums.
-
Example Table:
Item Description Alternatives Pencil HB or 2B for sketching Mechanical pencil with 0.5mm lead Eraser Kneaded eraser or standard eraser Paper Smooth drawing paper or sketchbook Any plain paper for practice, watercolor paper for colored pencils Reference Image Photograph of pomegranate segments (online or your own) Real pomegranate segments (optional) Coloring Supplies Colored pencils, markers, watercolors (optional)
-
4. Step-by-Step Guide: Drawing Pomegranate Segments
- Purpose: The core of the article; provide clear, concise, and easy-to-follow instructions.
-
Content:
-
Break down the process into manageable steps, each with a descriptive title and accompanying visuals.
-
Use numbered lists for sequential instructions.
-
Use diagrams or illustrations for each step, clearly showing the progression of the drawing.
-
Explain each step in detail, clarifying the reasoning behind specific techniques.
-
Use short paragraphs to describe the actions required in each drawing step.
-
Example Steps:
- Sketch the Basic Shape: Draw a rough outline of the segment shape. It’s often curved or slightly angular. Don’t worry about details at this stage.
- Add the Membrane Outline: Lightly sketch the membrane surrounding the segment. Remember, it’s not perfectly uniform.
- Indicate Seed Placement: Draw small circles or ovals to represent the placement of the seeds within the segment. Vary the sizes and densities.
- Refine the Segment Shape: Define the edges of the segment, paying attention to the natural curves and irregularities.
- Add Detail to the Seeds: Give the seeds more definition, adding small highlights and shadows.
- Shading and Highlights: Use shading to create depth and dimension. Add highlights to make the seeds look juicy and realistic.
-
5. Tips and Tricks for Realistic Pomegranate Segments
- Purpose: Offer advice to enhance the quality of the drawing and address common challenges.
- Content:
- Provide actionable tips on achieving realism in pomegranate segment drawings.
- Cover topics such as:
- Creating realistic textures for the seeds and membrane.
- Achieving proper shading and highlights.
- Varying seed size and density for a natural look.
- Using reference images effectively.
- Avoiding common mistakes.
-
Example Tips:
- Vary seed sizes: Don’t make all the seeds the same size. This adds visual interest.
- Observe the light: Pay attention to how light reflects off the seeds in your reference image. This will help you create realistic highlights and shadows.
- Embrace imperfection: Real pomegranate segments are not perfectly symmetrical. Allow for slight imperfections in your drawing.
6. Advanced Techniques: Adding Color and Detail
-
Purpose: Extend the learning for readers who want to take their drawings to the next level.
-
Content:
- Explore more advanced techniques for coloring and adding detail to pomegranate segment drawings.
- Discuss different coloring mediums (colored pencils, markers, watercolors) and their specific application to pomegranate segments.
- Demonstrate how to create realistic color gradients and textures.
- Explain how to add fine details such as highlights, shadows, and subtle color variations.
6.1. Using Colored Pencils
- Describe how to layer colors to achieve realistic tones.
- Explain the importance of blending and burnishing.
6.2. Applying Watercolors
- Offer tips on creating washes and controlling the flow of the paint.
- Explain how to use dry brush techniques for texture.
7. Practice Exercises: Hone Your Skills
-
Purpose: To give the reader practical exercises to practice.
-
Content:
- Provide a series of drawing exercises that encourage the reader to practice the techniques learned.
- Examples include drawing different variations of pomegranate segments, drawing multiple segments together, and drawing segments from different angles.
- Encourage experimentation with different drawing tools and techniques.
FAQ: Mastering Pomegranate Segment Drawing
Here are some common questions and answers to help you confidently draw realistic and appealing pomegranate segments.
Why are pomegranate segments so difficult to draw?
Pomegranate segments drawing can be tricky because each aril (the juicy seed covering) is unique. The segment itself is a cluster of these irregularly shaped arils pressed together, creating complex curves and highlights.
What’s the best way to create realistic highlights on pomegranate segments?
Observe real pomegranates! Notice how light reflects off the rounded arils within the segment. Use light, short strokes to indicate these highlights, varying the intensity based on the light source. Keep some areas darker to show dimension.
Can I simplify the process of pomegranate segments drawing?
Absolutely! Start with basic shapes to define the overall segment structure. Then, focus on suggesting the individual arils rather than drawing each one perfectly. Vary the size and shape of your suggested arils to maintain a natural look.
What drawing tools are best for pomegranate segment drawing?
Pencils are excellent for building up layers and creating subtle shading. Fineliner pens can add crisp outlines and define individual arils. Experiment with different tools to find what works best for you and the style you prefer.
So, go ahead and give pomegranate segments drawing a try! We hope this guide helps you create something beautiful and unique. Happy drawing!
