Cat Disaster! Salvaging Your Diamond Painting Masterpiece
Diamond painting, a hobby enjoyed by many, can unfortunately fall victim to feline mischief. Adhesive canvas, essential for holding the drills, becomes a tempting playground for curious paws. The immediate aftermath of the cat knocked over the diamond painting often involves scattered diamond drills, requiring careful sorting. Online forums dedicated to diamond painting communities offer valuable tips and support in such situations. Furthermore, using a reliable light pad can significantly aid in the meticulous process of retrieving and reapplying those tiny, sparkling pieces after such an incident.
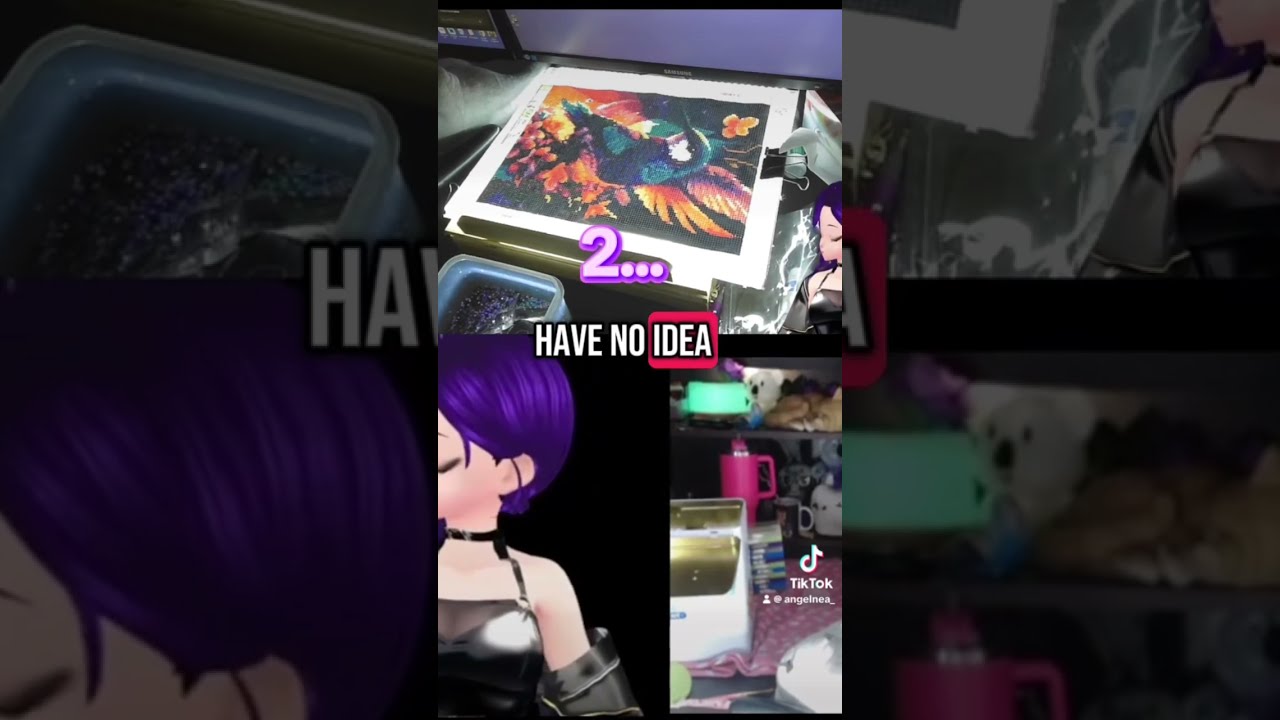
Image taken from the YouTube channel Angel , from the video titled Not only did the cat walk over my freshly glued diamond painting. You’ll see my two second memory .
Cat Disaster! Salvaging Your Diamond Painting Masterpiece
Diamond painting is a relaxing hobby, but it can quickly turn stressful when your feline friend decides to "redecorate." This guide focuses on how to recover and repair your diamond painting after, inevitably, the cat knocked over the diamond painting. We’ll cover immediate steps, cleaning methods, and restoration techniques to help you bring your sparkly creation back to life.
Immediate Action After the Incident
Contain the Spread!
Your first priority is preventing further damage. Acting quickly will significantly improve your chances of a full recovery.
- Isolate the Area: Gently move the affected diamond painting away from the cat and other potential hazards (children, pets, high-traffic areas).
- Secure Loose Diamonds: Before anything else, try to contain the scattered diamonds. Place a sheet of paper underneath the spillage to catch any further fallout.
- Assess the Damage: Take a good look at the situation. What type of mess are you dealing with? Are diamonds simply displaced, or is there damage to the adhesive?
Gathering Essential Supplies
You’ll need a few key tools to tackle this cleanup:
- Vacuum Cleaner (with hose attachment): For careful retrieval of loose diamonds (more on this later!).
- Tweezers: For precise placement and adjustments.
- Craft Knife or Scalpel: For removing stubborn debris.
- Spare Diamonds (if available): Hopefully, you kept the extras! If not, we’ll address this later.
- Diamond Painting Pen (with wax): To pick up and place diamonds.
- Small Containers: To sort and organize recovered diamonds.
- Soft Cloth or Brush: For gentle cleaning.
- Lint Roller: Surprisingly effective for picking up stray diamonds and dust.
Cleaning Up the Diamond Debris
This is where the real work begins. Carefully approach the mess, taking your time to avoid further scattering.
Vacuuming Strategies
Vacuuming can be both helpful and harmful. Use caution!
- Hose Attachment Only: Never use the main vacuum head directly on the canvas. This could damage the adhesive.
- Low Suction: Use the lowest suction setting possible.
- Pantyhose Trick: Cover the hose attachment with a piece of pantyhose or cheesecloth, securing it with a rubber band. This will prevent the vacuum from sucking up and losing the diamonds. Empty the pantyhose frequently into a container.
- Targeted Cleaning: Focus the vacuum on areas with a high concentration of loose diamonds.
Manual Diamond Retrieval
This method is more time-consuming but offers greater control.
- Tweezers: Use tweezers to carefully pick up individual diamonds and place them in appropriate containers (sorted by color code, if possible).
- Diamond Painting Pen: Utilize the wax tip of your diamond painting pen to gently lift and collect diamonds.
- Sticky Tack or Putty: A small ball of sticky tack can be useful for picking up several diamonds at once.
Dealing with Sticky Situations
If your cat’s fur or paws have tracked adhesive and diamonds around, you’ll need to address this separately.
- Remove Pet Hair: Use a lint roller or pet hair removal brush to lift hair from the canvas and surrounding surfaces.
- Gently Wipe: If the adhesive has stuck to other surfaces, try gently wiping with a slightly damp cloth. Avoid harsh chemicals.
- Adhesive Remover (Use with Extreme Caution!): As a last resort, a very small amount of a gentle adhesive remover might be used. Test it on an inconspicuous area first! Apply it to a cloth, not directly to the painting.
Restoring Your Diamond Painting
Once you’ve cleaned up the mess, it’s time to rebuild your masterpiece.
Replacing Missing Diamonds
This is often the most challenging part.
- Check Your Extras: Hopefully, you have some spare diamonds from the original kit. These are your best bet for a seamless repair.
- Diamond Inventory: If you don’t have spares, try to determine which colors are missing.
- Contact the Supplier: Reach out to the company you purchased the kit from. They may be able to send you replacement diamonds. Provide them with the kit name/number and the specific diamond codes you need.
- Online Resources: Search online marketplaces (like Etsy or eBay) for individual diamond lots. You may be able to find a seller offering the colors you need.
- Substitute Diamonds: As a last resort, if you can’t find the exact match, consider using a similar color. This is better than leaving gaps in your design.
Reattaching Dislodged Diamonds
Sometimes, diamonds are displaced but not lost.
- Tweezers and Pen: Use your tweezers or diamond painting pen to carefully reposition the displaced diamonds.
- Even Pressure: Apply gentle, even pressure to ensure the diamonds are firmly attached to the adhesive.
- Roller Tool (Optional): A diamond painting roller tool can help to even out the surface and secure the diamonds.
Addressing Adhesive Issues
If the adhesive has been damaged or lost its stickiness, you have a few options.
- Re-Application: Some crafters use a thin layer of clear-drying craft glue applied with a fine brush to restore the adhesive. Use with extreme caution and test on a small area first! This can change the appearance of the painting if applied incorrectly.
- Replace the Canvas (Difficult): In severe cases, you might be able to transfer the diamonds to a new, blank diamond painting canvas. This is a very advanced technique and risks further damage. It’s usually better to consider the project a learning experience and start a new one.
Prevention is Key!
Learn from this experience!
- Designated Workspace: Establish a diamond painting area that is inaccessible to your cat (or other pets).
- Protective Coverings: When you’re not working on your project, cover it with a piece of cardboard or plastic to protect it from curious paws.
- Cat Diversion: Provide your cat with plenty of stimulating toys and activities to keep them occupied and less interested in your diamond painting.
- Regular Playtime: A tired cat is a less mischievous cat. Ensure your cat gets enough playtime and exercise.
| Item | Purpose |
|---|---|
| Vacuum (w/ hose) | Removing loose diamonds from the floor. |
| Tweezers | Picking up and placing individual diamonds with precision. |
| Spare Diamonds | Replacing missing diamonds to complete the design. |
| Lint Roller | Removing pet hair and stray diamonds from the canvas and surrounding area. |
By following these steps, you can significantly increase your chances of salvaging your diamond painting masterpiece and preventing future "cat-astrophes"!
Cat Disaster! Diamond Painting FAQ
Here are some frequently asked questions about rescuing your diamond painting after a feline intervention. We’ll cover the basics of recovering from the cat knocking over the diamond painting.
Can I really salvage a diamond painting after a cat attack?
Yes, often you can! The extent of the damage depends on how much the cat interfered, but you can usually recover most, if not all, of your diamond painting. The key is acting quickly.
My cat knocked over the diamond painting and now there are drills everywhere! What’s the best way to pick them up?
A vacuum cleaner with a hose attachment is your best friend. Cover the hose end with pantyhose or cheesecloth secured with a rubber band to prevent the drills from being sucked into the vacuum. Gently vacuum the scattered drills.
How do I clean the sticky canvas if my cat walked all over it?
Use a slightly damp cloth or baby wipe to gently clean the canvas. Avoid harsh chemicals. The goal is to remove any cat hair or debris without removing the adhesive. If the cat knocked over the diamond painting and the sticky canvas caught fur, this is critical.
Some drills are missing after the cat knocked over the diamond painting. What can I do?
Contact the company you purchased the diamond painting from. Most provide extra drills or are willing to send replacements, especially if you explain the situation. Otherwise, you can often find similar drills online using the DMC color code.
Well, that’s about it for rescuing your sparkling artwork! Hopefully, these tips helped you deal with the dreaded moment when the cat knocked over the diamond painting. Good luck getting everything back in order, and maybe invest in some extra cat toys!
